When importing animals, you have the ability to selectively import animals based on criteria contained in the file. A typical example would be selecting animals based on weight ranges. The steps that follow will illustrate weight range filtering however the process is the same for any other parameter.
Using the File Contents Filters
•Configure the Import window as though you were importing the entire file (‘map’ the columns, etc).
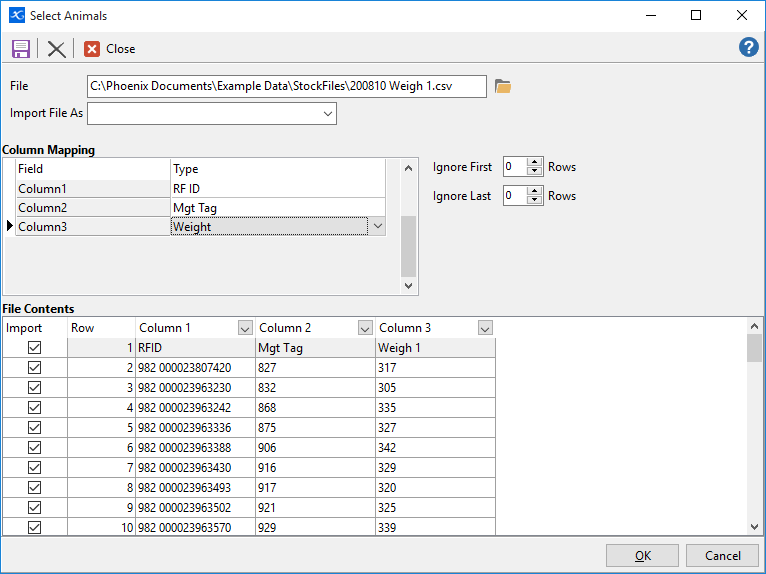
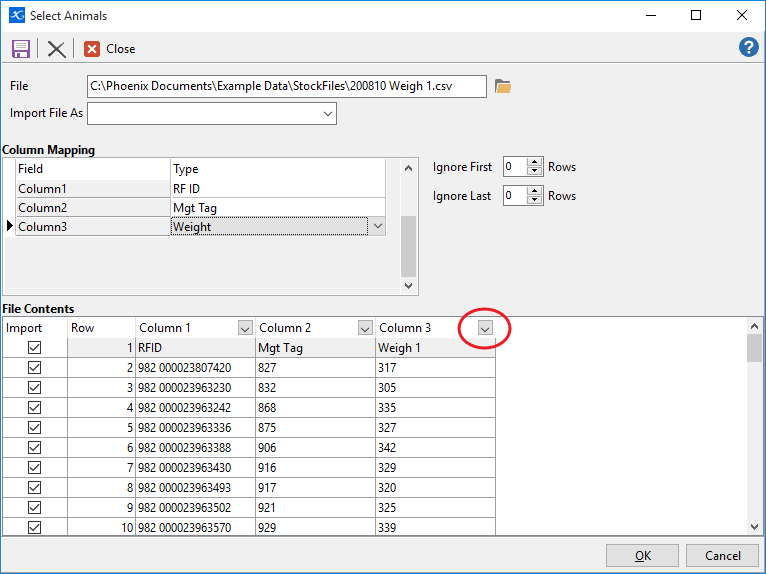
Next, click on the Filter button  on the column in File Contents that you wish to filter by and in the dropdown, select Custom.
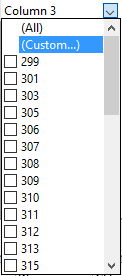
In the Custom Filter window, you can set parameters by which to filter. The drop-downs provide a predefined list of queries.
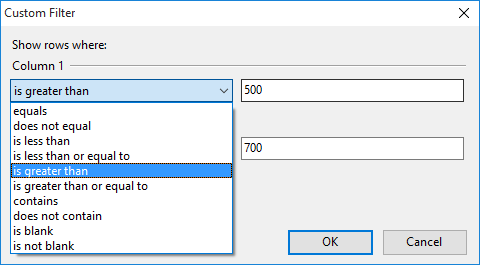
For this example, the Customer Filter has been set to select all animals in the file that weigh between 300kg and 400kg.
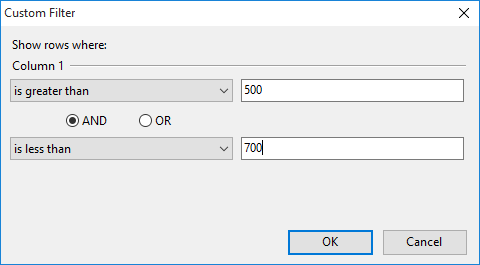
Once the filters have been set, click OK.
•At the bottom of the Import window is the filter you have created and the File Contents are now filtered. You can temporarily turn the filter off by unticking the filter. You can also permanently remove the filter by clicking  . If
. If  shows at the end of the filter line, you can click on this to be presented with a list of all filters you have created in this session. The Customise… button is best left for advanced users to build and save multi tiered queries.
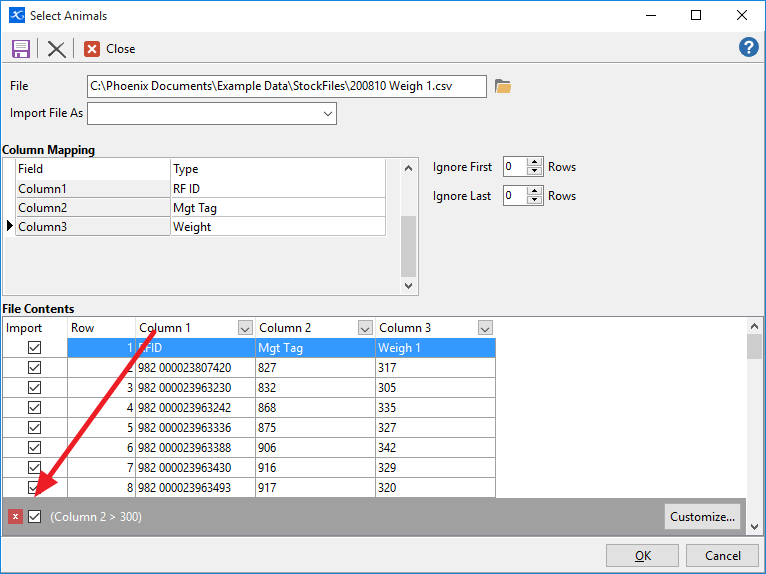
•Once satisfied with the filters, click OK and only the filtered list of animals will be imported.