Animals can be brought onto the system by Purchases, Births or through Setup. Creating animals through Setup should only be done for system start. Once the system is up and running there should be a reason why the number of animals are increasing or decreasing, typically; Sale, Purchase, Death and Birth. As such, there is a specific function in Livestock to record these transactions.
To introduce animals onto the system at start up:
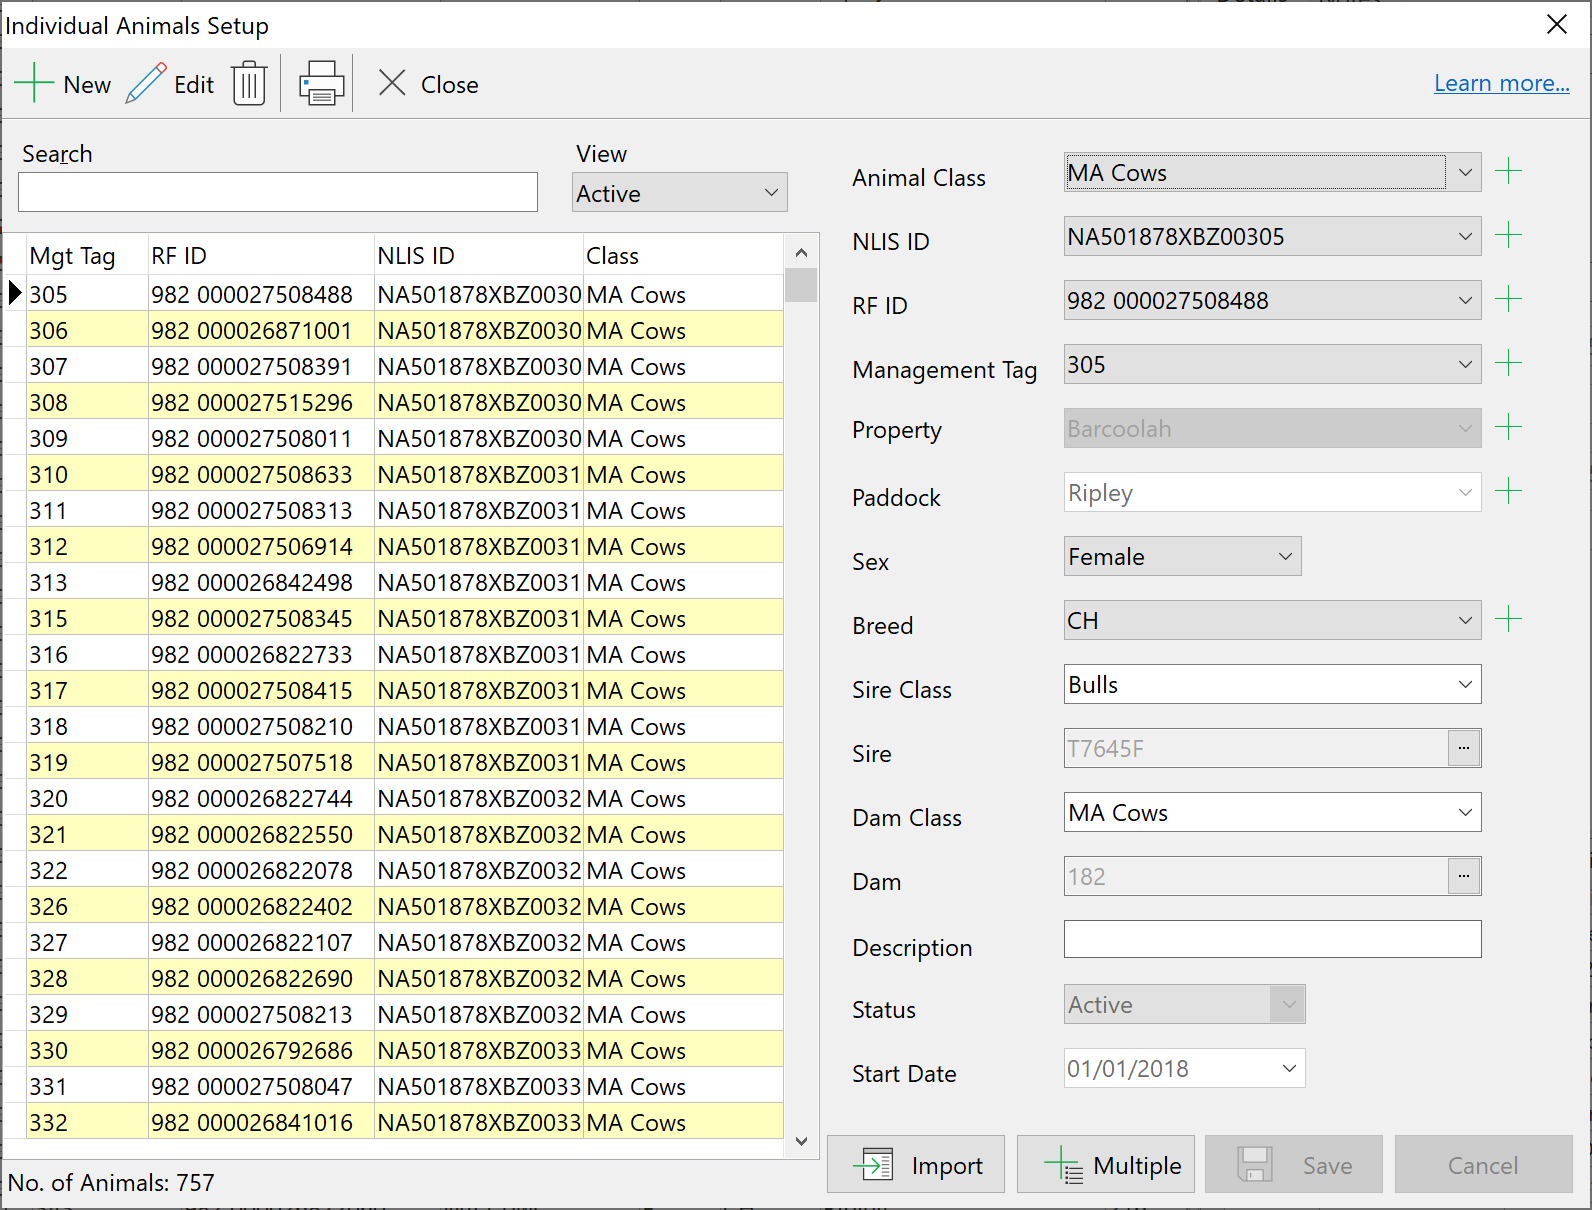
•Click Setup from the drop-down menu and select Individual Animals.

There are three ways to bring animals onto the system in this window; Individually, multiple animals from electronic files and multiple un-identified animals.
•Click  to start new record. to start new record.
•Fill in the details down the right hand column. Most fields will have the information already available via a drop-down list. If the information is not there, click on  to take you to the setup screen for that particular information. to take you to the setup screen for that particular information.
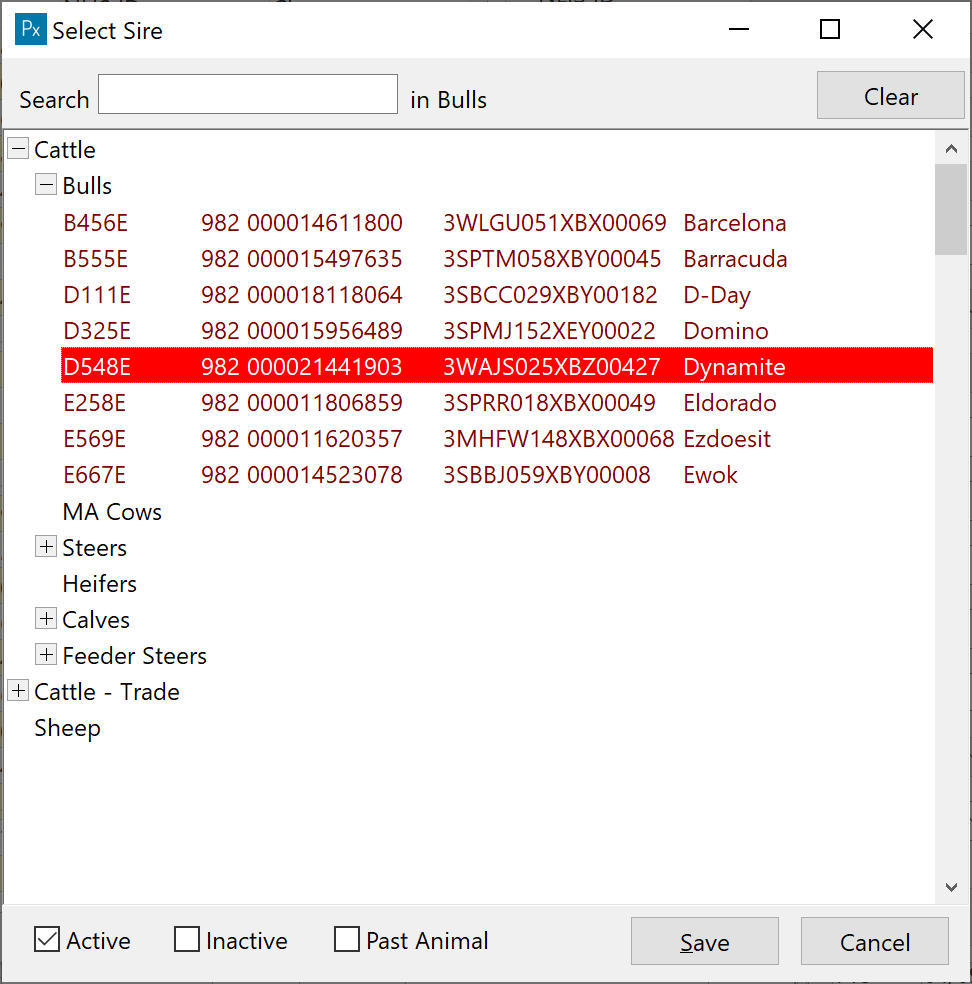
•When selecting Sire and Dam you can simply select just the class or you can select the individual animal as well.

•When finished, click Save.
NB: to select which identifier is shown for Sire and Dam, click on Tools on the drop-down menu and select Options. Click the View Tab and select Full Breed Name or Abbreviation. Number the identifiers in the order of preference.
|
•Click  . .
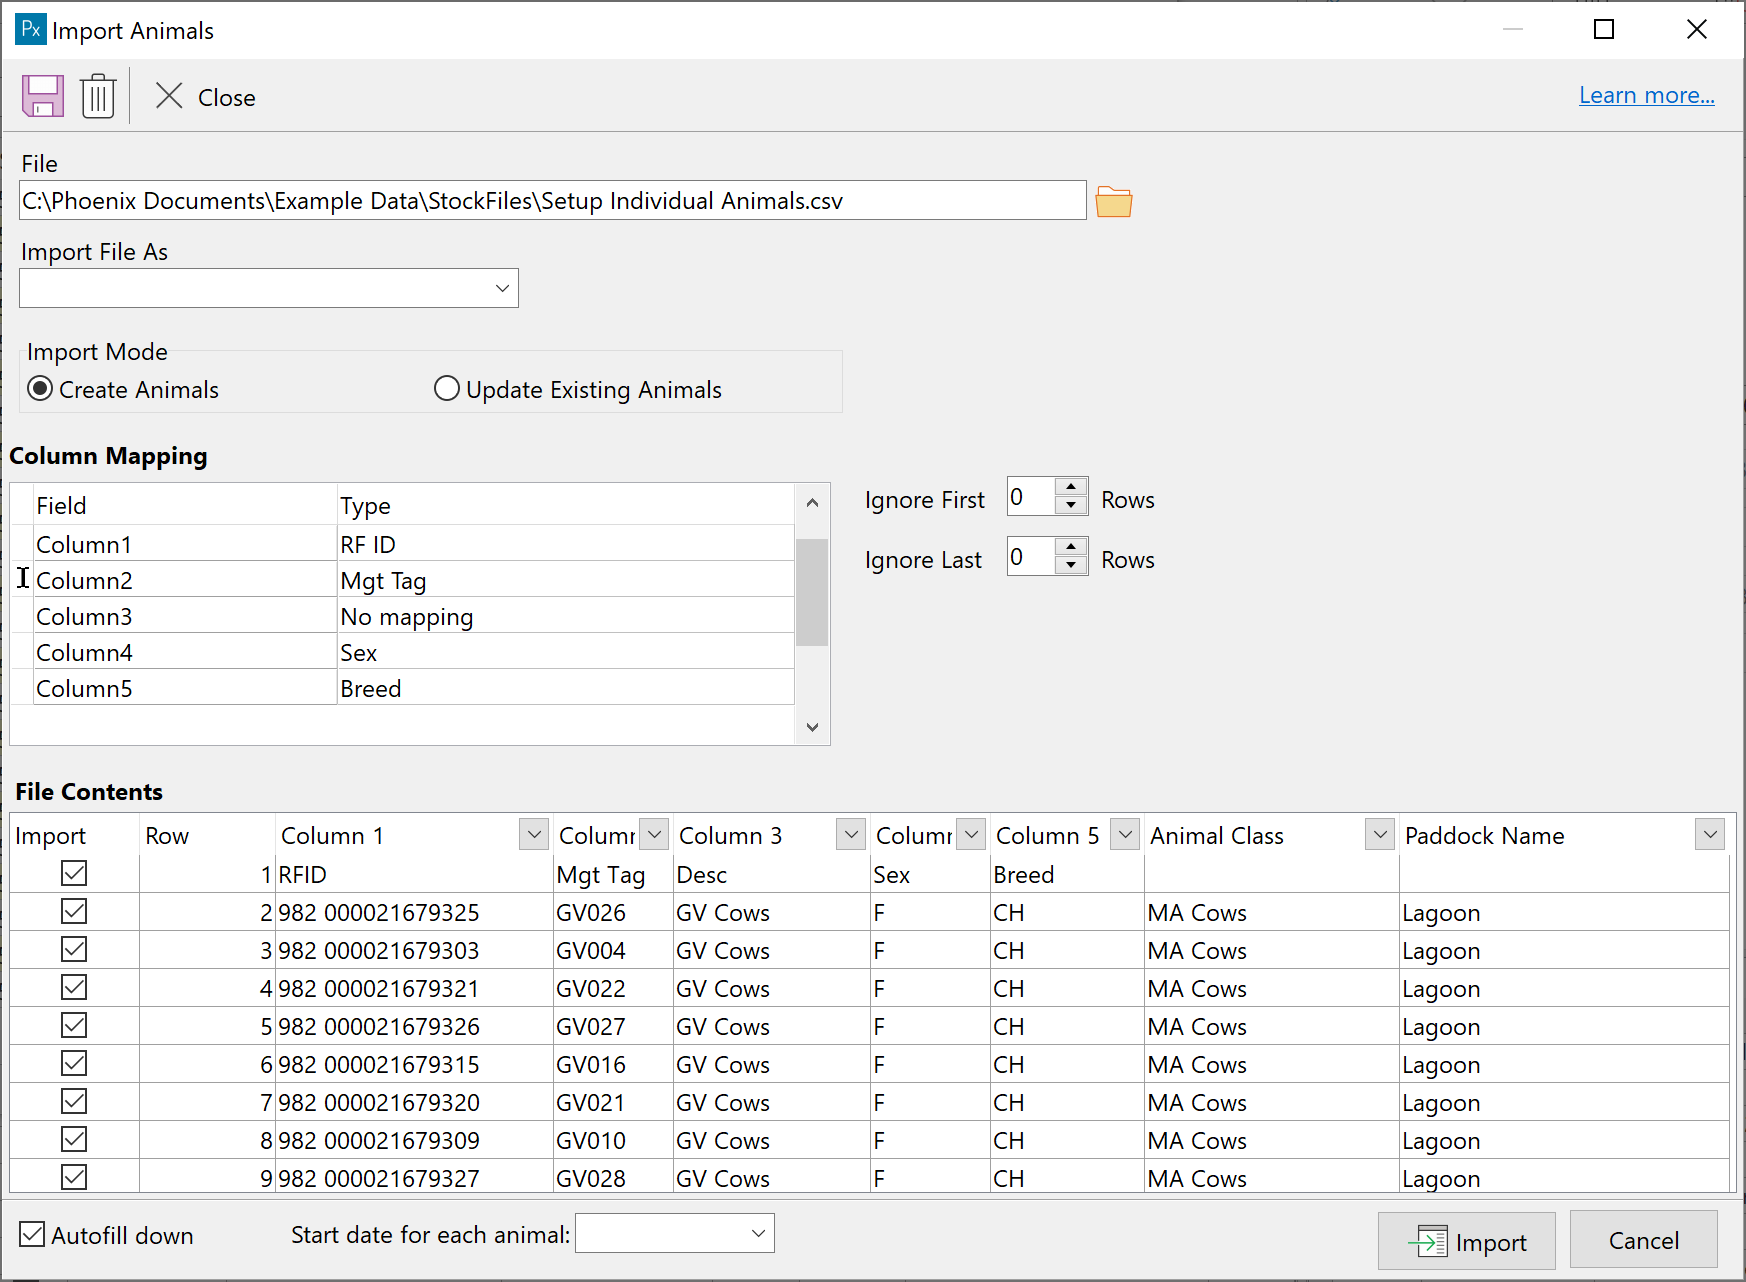
•Select the file containing the animal information and click Open. This file will need to be in a .csv or .txt file format with each line in the file representing an individual animal. If you cannot see your file, be sure that the Files of Type is set to view these file formats.
•The next window is the File Import window. The contents of the file are displayed at the bottom. As there are a multitude of file formats, you will need to map the columns in relation to their contents. If the file contains headers or other sundry information at the top, you can select the number of lines to ignore at the top and bottom of the file. Type the number of lines into the respective Ignore fields.

•In the Column Mapping section there is a list of the columns. Click in the adjacent cell to be presented with a drop-down list of headings. Select the heading that defines the content of that column. Repeat for each column that is relevant, not all columns have to be mapped.
•In the File Contents section at the bottom, the two most right hand columns will be headed Animal Class and Paddock. Click in the top cell for each column and select the Class and Paddock. The columns will auto-fill. If animals are not of the same Class and/or are in different paddocks, untick the auto-fill check box in the bottom left corner. Then select the Class and Paddock for each animal.
•Then select a Start Date.
•When finished, click OK.
Note: For further information on importing files, refer to the Importing Animal Files.
|
•Click  . .
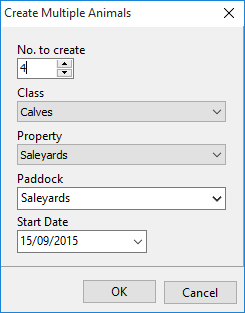
•Enter the number of animals to create. Select the Class, Property and Paddock from the drop-down lists.
•Click OK.

These animals will now be on the system but have no identifier. Refer to Apply Devices on how to do this.
|
NB: Setting Up Past Animals
Past Animals allows you to create animals that are no longer owned, or were never owned, for the purpose of genetic traceability as Sires and Dams of current active animals.
Semen straws and embryos would also be considered as Past Animals.
Past Animals are created within the Individual Animals setup located in the Setup menu.
Click on New + and enter any relevant information. For Property and Paddock, you will need to select a Property and Paddock – it can be any as it will not appear in any reporting.
In the Status field, select Past Animal from the drop-down list.
The animal will now be available for linking purposes.


 to start new record.
 to take you to the setup screen for that particular information.
 .
.
 .
.