To create a new project using an image from an image server (Internet connection required):
• Click on the New Project button on the toolbar or in the Open Project window.
•Give the new project a name, typically the property name and select the Projection for the project. Enter the zone for the location of the project. If unknown, click  to be presented with an interactive map to determine the zone (if the map/image does not load in the Layer Wizard, check that you have Internet Explorer 7 or later). The Lat/Lon Format is an optional secondary display format. When finished click OK.
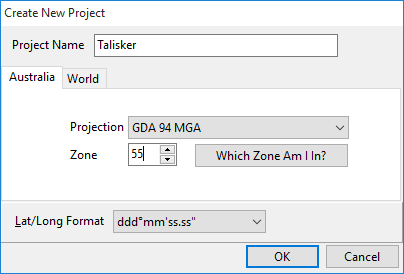
•Click Next to the Layer Wizard Welcome Page.
•Select Import a layer and click Next.
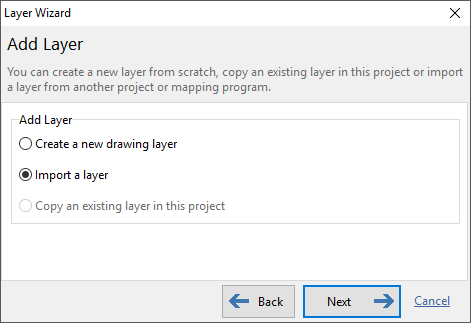
•Select Import Source Spatial Data Library then click Next.
•In the treeview, click the + beside Image Server, select the desired server and click Next.
•Read the Image Server Terms & Conditions and tick I Have Read the Terms and Agree if you agree to abide by these conditions. Click Next.
•In the image server preview window, select an area of imagery that will encompass your project (this step will only show when starting a new project). If the map/image does not load in the Layer Wizard, check that you have Internet Explorer 7 or later.
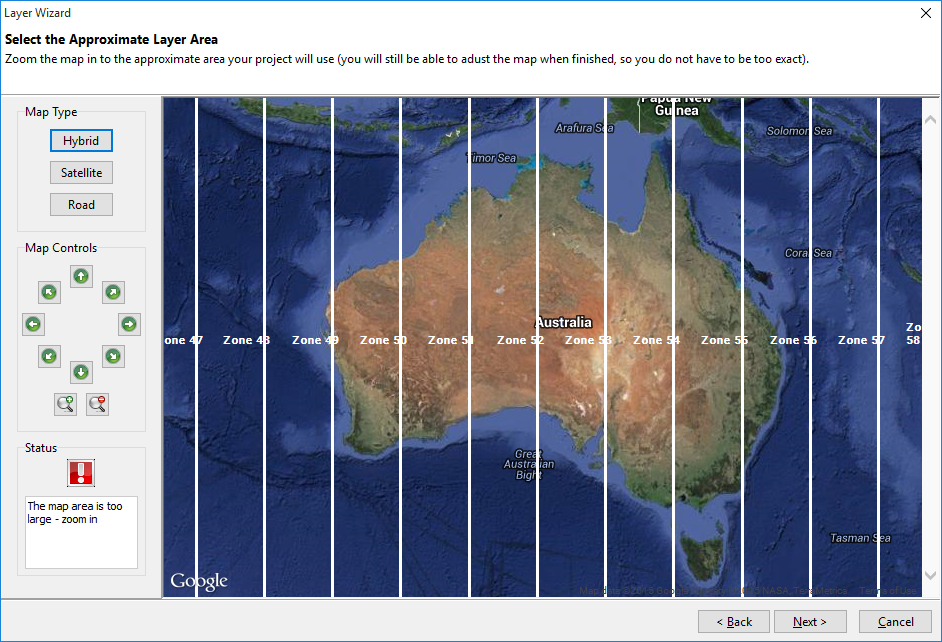 |
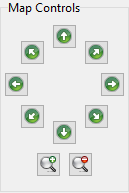
| Select the approximate location of the project by zooming in using the navigation buttons. Alternatively, hold the mouse cursor over the approximate location on the map and double left mouse click to zoom in. |
 |
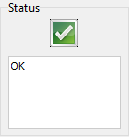
| Keep zooming in until the approximate area of the project is filling the window and the Status panel shows as OK. |
 |
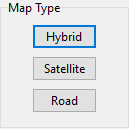
| To aid in locating your area, use the three states of the image to help orientate yourself. |
 |
| When done, click Next. |
•Give the layer a name then click Next.
•Confirm the details of the layer summarised in the window and click Finish.
NB: The imagery is not saved within the Phoenix project. The project references the image server each time the project is opened.
Also, please be aware that imagery from image servers may have a certain degree of inaccuracy in its positioning. To check and rectify any inaccuracy, refer to the Change Layer Alignment section.