To Backup to the Phoenix Warehouse:
1.Make sure you are in the set of books you wish to backup.
2.Either click Data on the menu bar and then choose Backup, or, click the  button on the Toolbar.
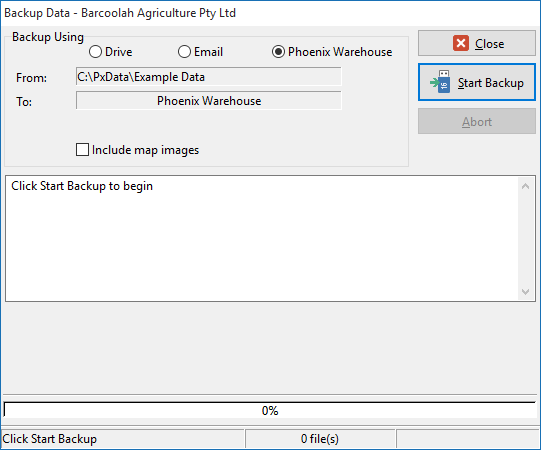
3.Click the Phoenix Warehouse Radio Button.
4.Click the Start Backup Button.

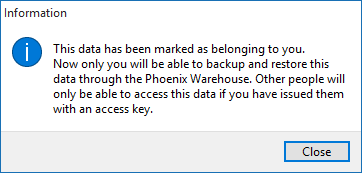
5.When backing-up a set of books for the first time you will be presented with a screen asking if you are the owner of the data you are about to back-up.

If you are not the owner of the data DO NOT claim ownership of it. If you are not the owner you will not be able to proceed. If you are the owner of the data click Yes and Phoenix will offer you the next screen.
By performing this backup process a file will be placed automatically in your account in the Phoenix Warehouse.
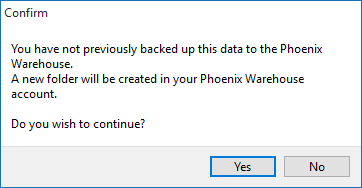
6.As you will not have backed up this data before you will need to create a new folder for the data to be stored in. Simply press Yes to the following screen. Clicking No will cancel the Backup process.

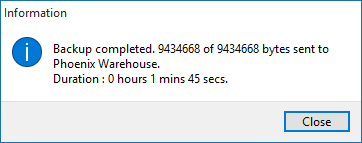
7.If you click Yes, the backup file will be uploaded to the Phoenix Warehouse.
If the data belongs to another Phoenix Warehouse account holder you will only be able to backup the data to the Phoenix Warehouse if the owner has assigned you "backup" permissions. If so, the backup will be stored under the owners account. See "Assigning Access Rights to a Third Party" for more information.
Note: When undertaking a backup or restoration procedure you should monitor the status screen displayed to determine the success of the backup or restoration
