To create a new project using an image that you have on file:
•Click on the New Project button on the toolbar or in the Open Project window 
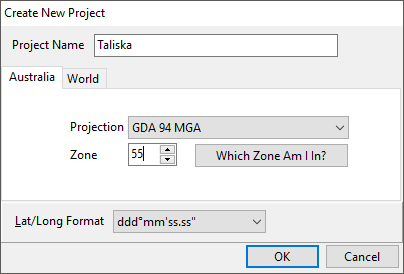
•Give the new project a name, typically the property name and select the Projection for the project. Enter the zone for the location of the project. If unknown, click  to be presented with an interactive map to determine the zone. The Lat/Lon Format is an optional secondary display format. When finished click OK.
•Click Next to the Layer Wizard Welcome page.
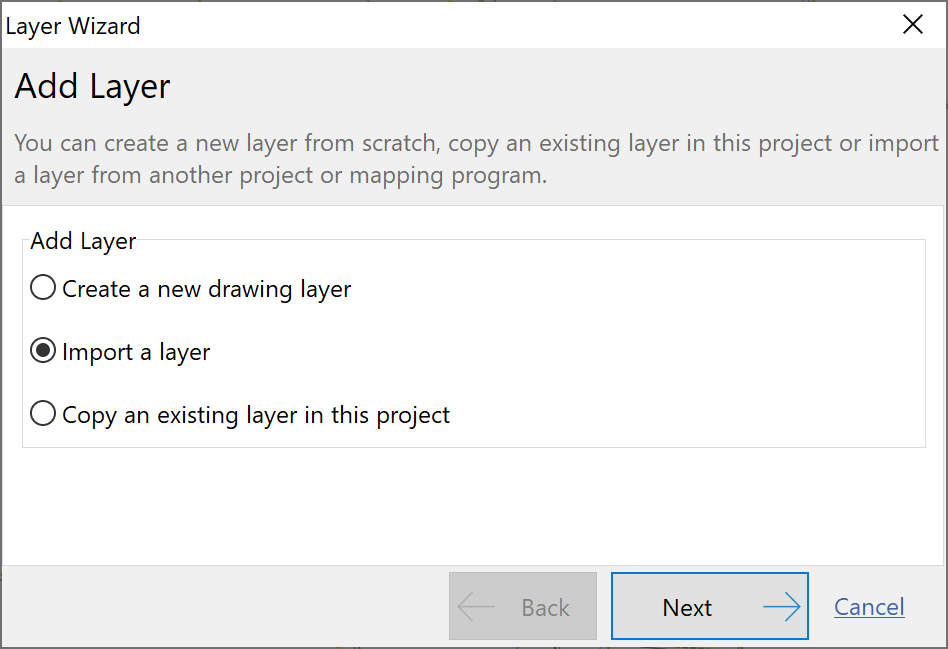
•Select Import a layer and click Next.
•Select Import Source File then click Next.
•Click the yellow folder, browse to where the image file is located then click Next.
•Give the layer a name then click Next.
•Confirm the details of the layer summarised in the windows and click Finish.
Important: If the image is not registered (does not have a world file and subsequently no co-ordinates have been set), then you need to register the image at this point. Refer to Geo Referencing an Image on how to achieve this.