To create a new project using an image from an image server (Internet connection required):
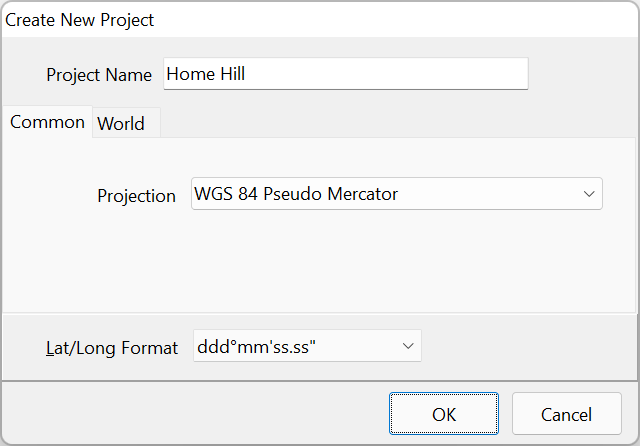
•Click on the New Project button on the toolbar or in the Open Project window 
•Give the new project a name and click OK.
•Click Next to the Layer Wizard Welcome Page.
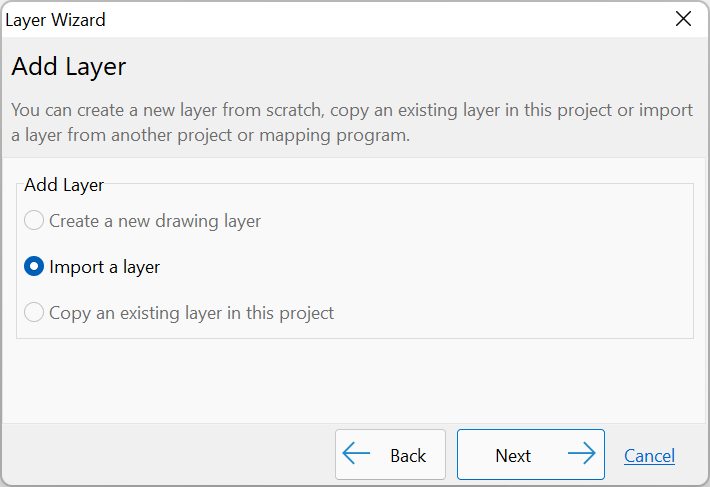
•Select Import a layer and click Next.
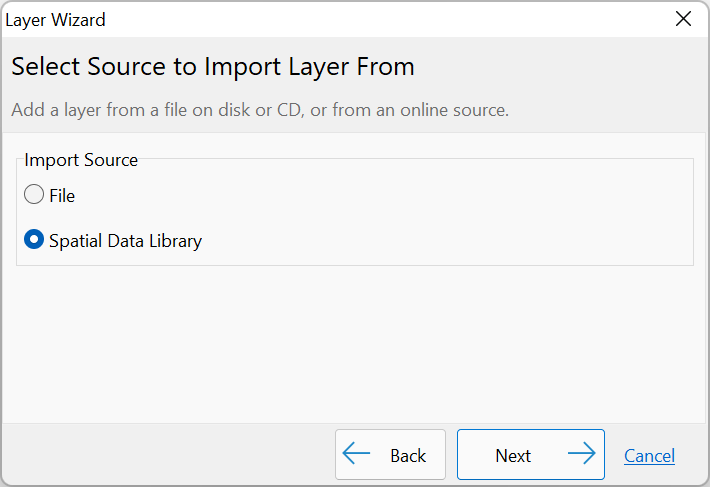
•Select Import Source Spatial Data Library then click Next.
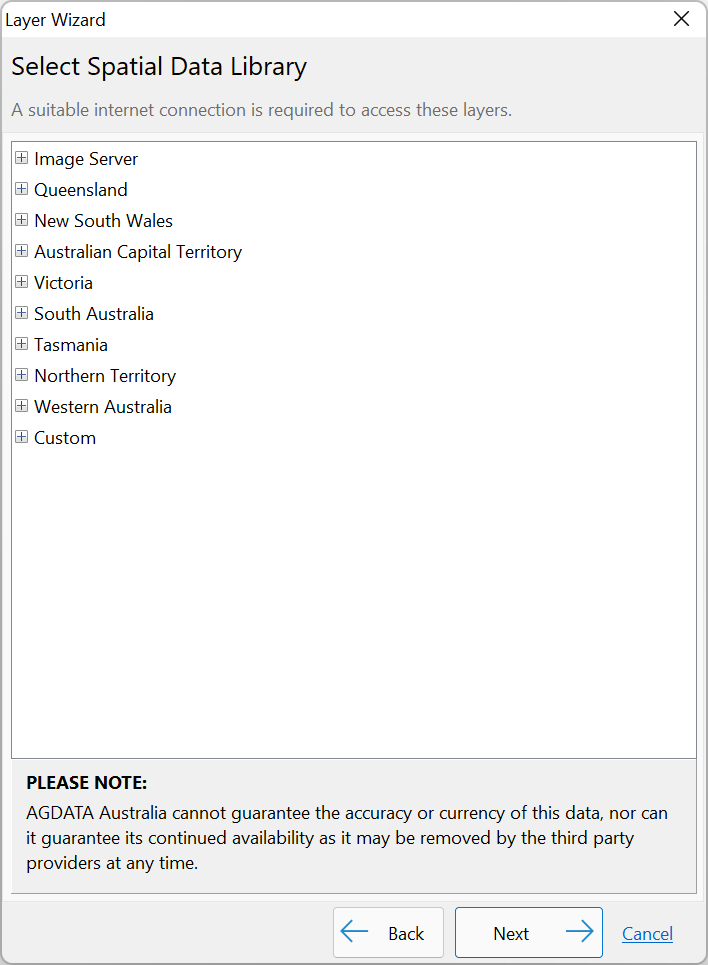
•In the treeview, click the + beside Image Server, select the desired server and click Next.
•Give the layer a name then click Next.
•Confirm the details of the layer summarised in the window and click Finish.
NB: The imagery is not saved within the Phoenix project. The project references the image server each time the project is opened.
Also, please be aware that imagery from image servers may have a certain degree of inaccuracy in its positioning. To check and rectify any inaccuracy, refer to the Change Layer Alignment section.