Geo-referencing is a function whereby you can set the co-ordinates for your image. This will be required if you wish to use mapping in conjunction with a GPS unit and your image does not come already geo-referenced (also known as geo-rectified).
To geo-reference your image you will need three points for which you have accurate co-ordinates in UTM (Eastings and Northings) or Latitude/Longitude format. These usually are best obtained from a GPS. For best accuracy, the three control points should be as far apart as possible on the image and at approximate right angle (i.e. top left, top right, bottom right corners of the image).
Once you have those:
•Select the Image layer in the layers list (layer will be highlighted in blue).
•Select Map from the drop-down menu bar and select Register Image.
•This will default to drawing mode. Single left mouse click on three points for which you have the co-ordinates.
•Click the Stop Drawing button 
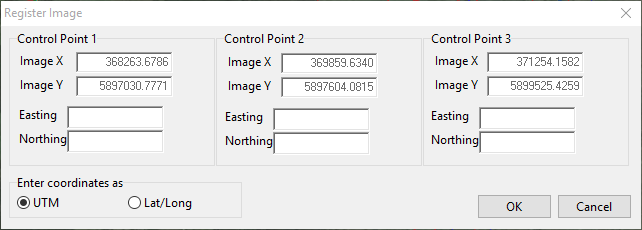
•A Register Image window will appear. Enter the Eastings and Northings for each control point you have marked then click OK. Be sure you have selected the correct co-ordinates format at the bottom.
Your image will now be geo-referenced. This will have set the scale for your image, therefore you can now ascertain areas and distances from the map.
Note: Eastings and Northings are UTM’s on your GPS (i.e. 424098.9571E, 6938936.6512N). You can set your GPS to read in UTM as opposed to Latitude Longitude. Please refer to your GPS user manual on how to do this. The GPS will display your UTM Zone.