Like the plotting of waypoints, downloaded routes and tracks will inherit the layer type properties (points, lines or polygons).
To plot routes and tracks:
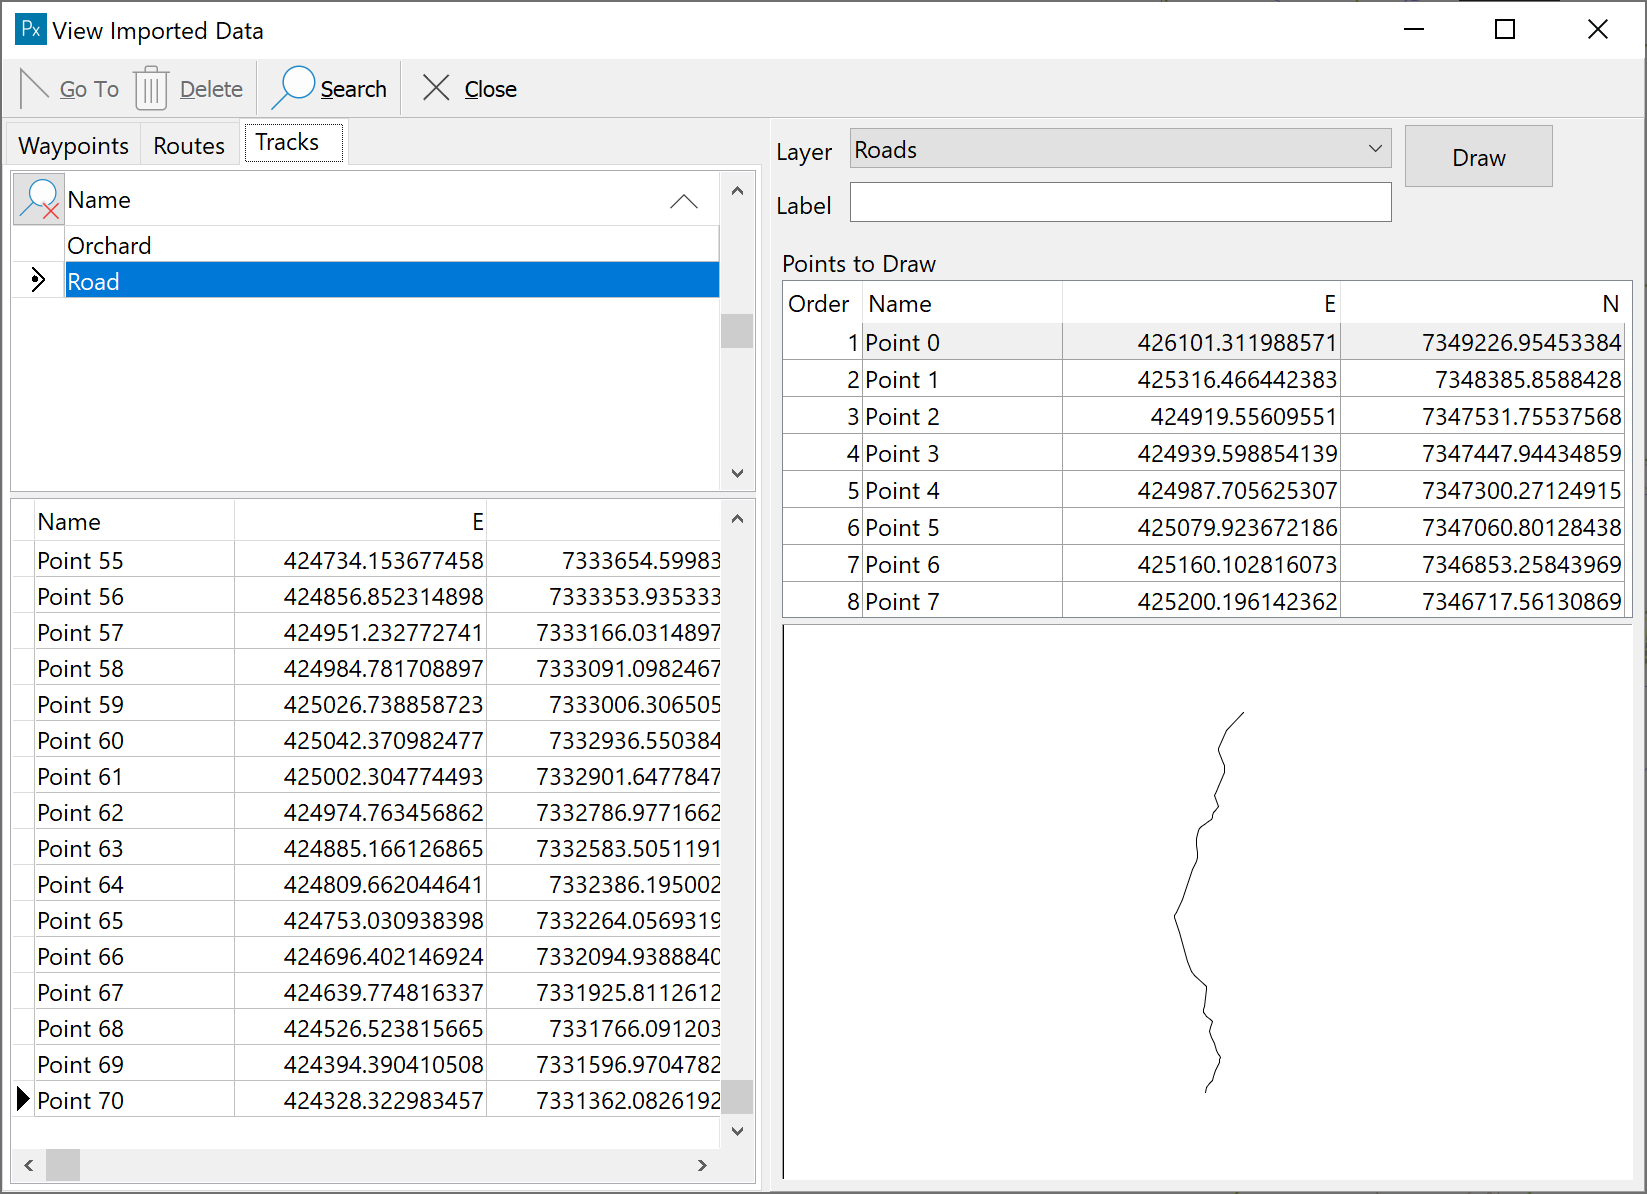
•Select the GPS drop-down menu, and select View Imported Data.
•Select the Routes or Tracks tab. If tabs are empty, refer back to Transferring GPS Data.
•Highlight the Route/Track in the top left panel. Listed below will be every waypoint that makes up that Route/Track.
•After you have selected the Route/Track, on the right hand side, select the layer to plot the Route/Track onto from the drop-down list. Below is the list of waypoints that make up the chosen Route/Track. Again however, this list denotes the draw order of the waypoints.
•Below the list of points to draw is a Preview screen. If drawing to a points layer, they will appear as points. If you are drawing to a lines layer, they will join to form a line. If drawing to a polygon layer, they will join to form a polygon. If the shape is not correct, the draw order needs to be change. To change the draw order, click on a point in the list and drag it into the correct draw order position. This will automatically update the preview screen.
•When correct, click to the Draw button.
The list of points can be sorted in ascending or descending order by Name, E or N. Click on the appropriate column heading to sort. Click the heading again to reverse the sort order.
The search function on the toolbar will aid in finding a specific point.
You can rename Waypoints, Routes and Tracks by clicking in the name cell and typing in the new name.