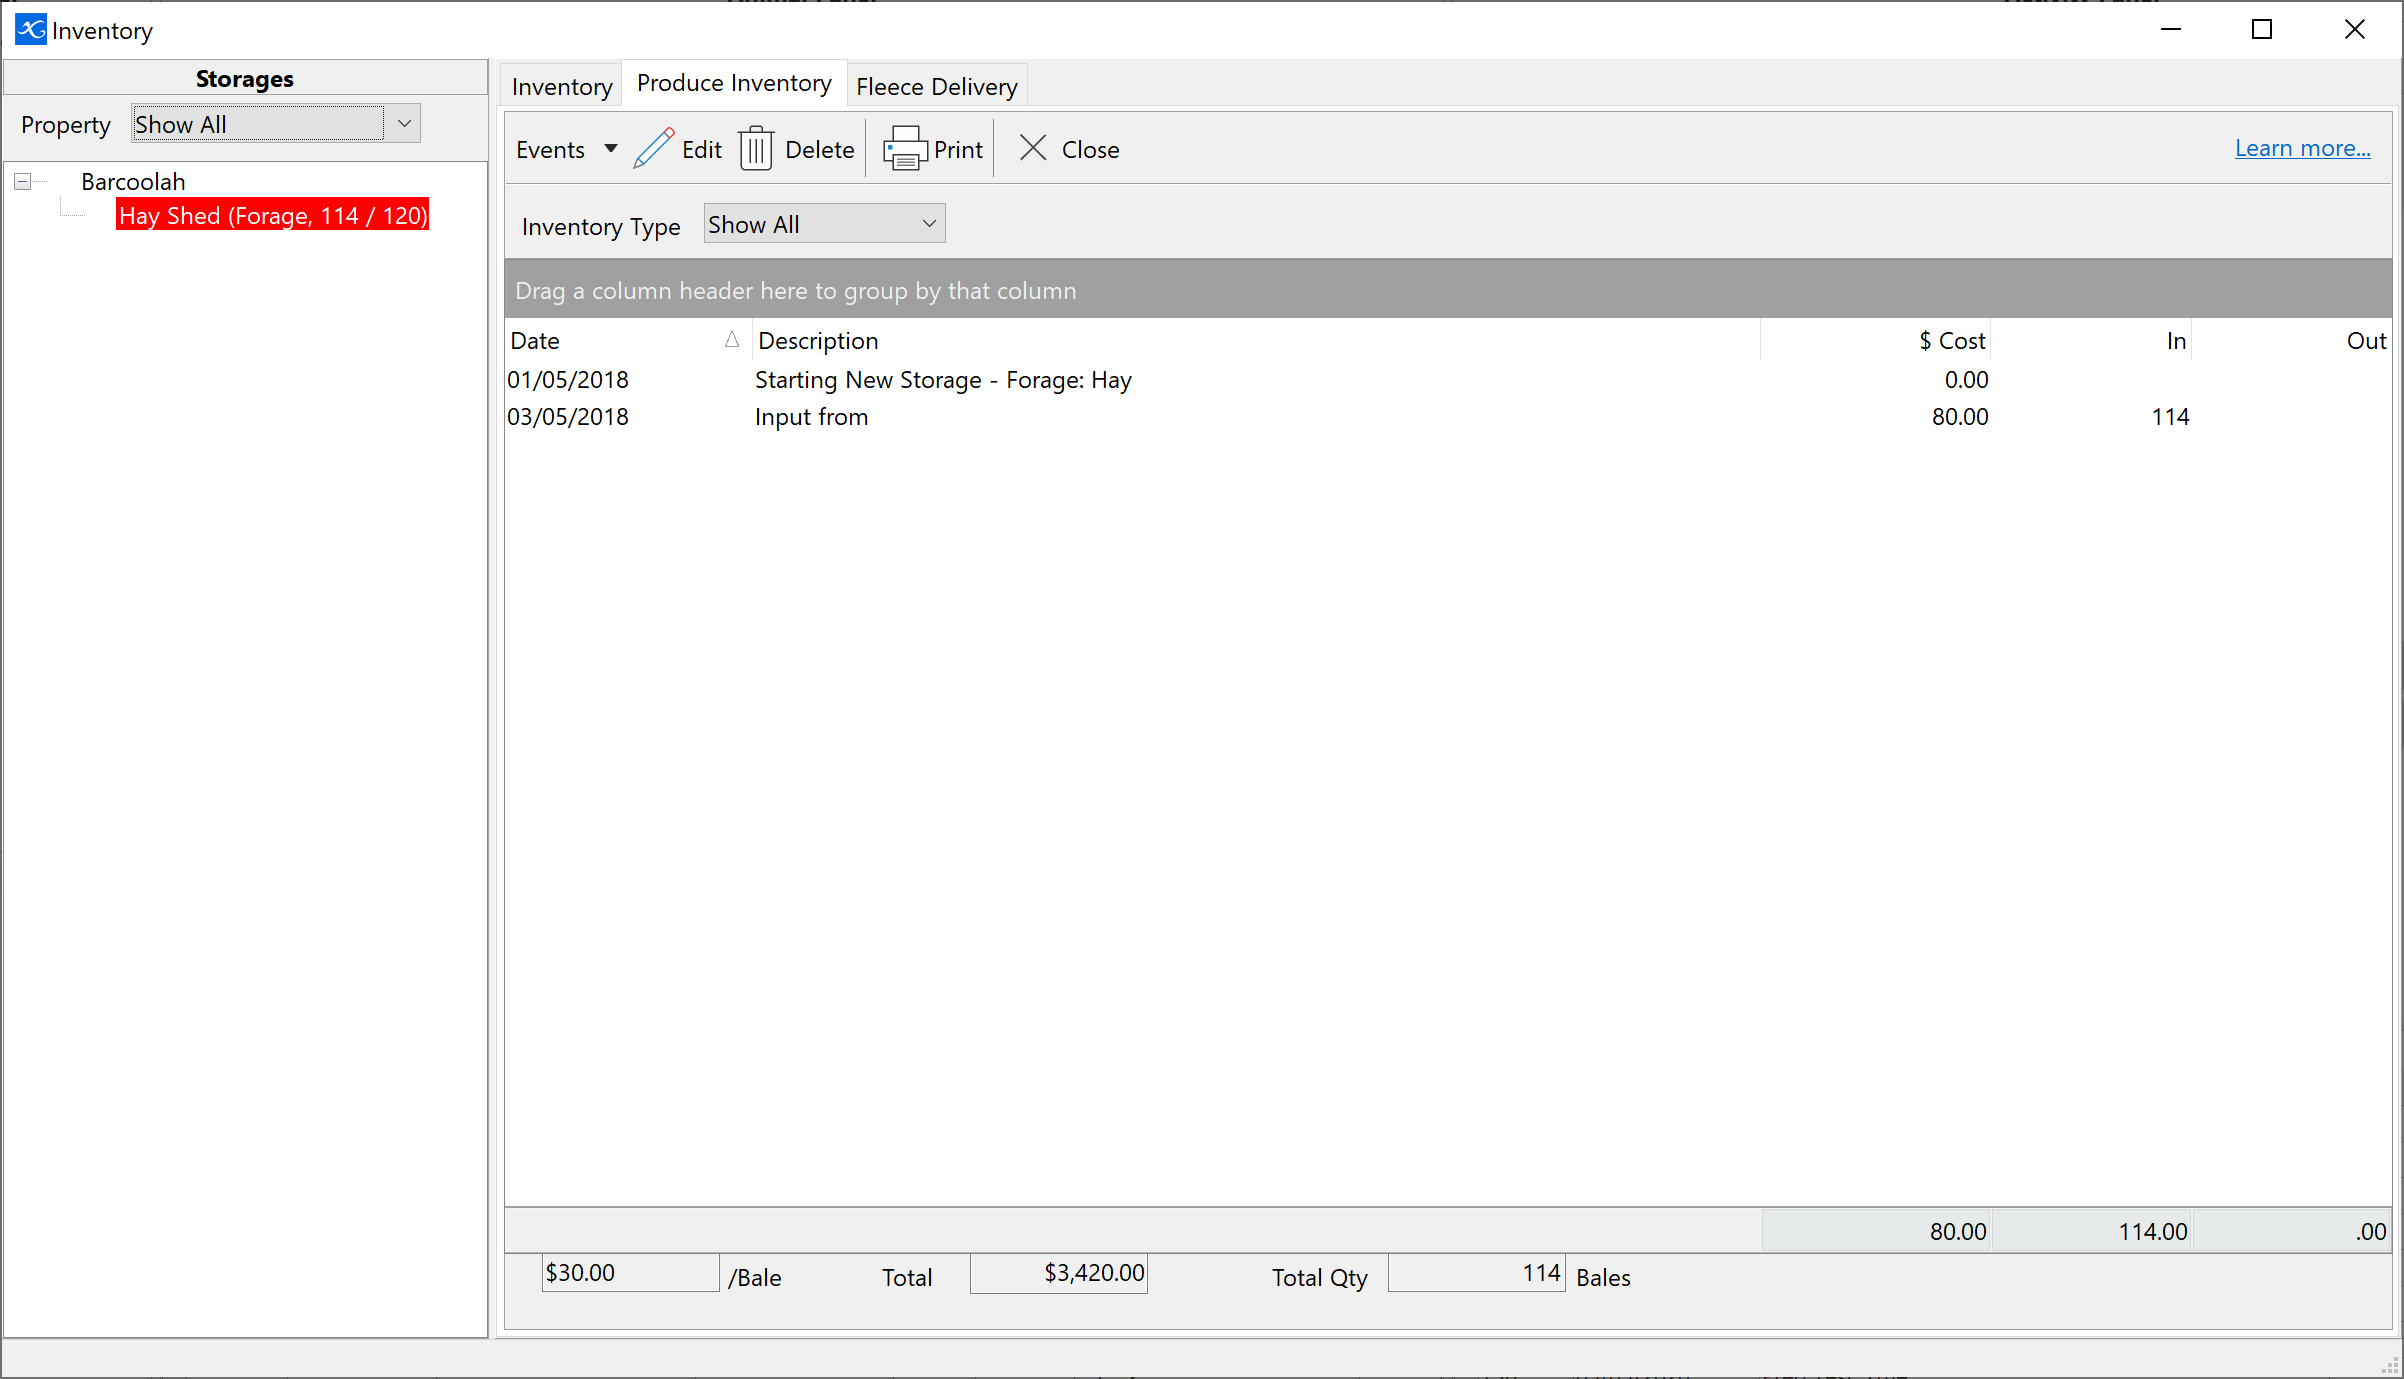
Produce Inventory is any storage facility in which you store farm produce. On the left hand side is a treeview of Properties and their Produce Storages that you have set up. To view the current contents of a storage, click on the storage in the treeview.
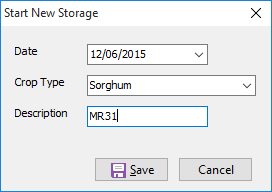
For every storage you must first identify the produce type which is being stored. To do this:
•Click  on the toolbar and select Start New Storage. on the toolbar and select Start New Storage.
•Enter a date and select a crop type from the drop-down list.
•You can enter a description for this New Storage Event such as the variety to be stored.
•Click Save.
NB: If you are delivering into this storage from a harvest activity, this Start New Storage event will be auto created for you.
|
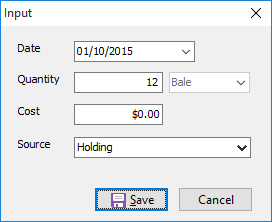
There are two ways to enter produce into a storage. First is to allocate produce from a harvest activity (if you are using Phoenix Cropping) to the storage. Secondly is to enter it from the Produce Storage page. To do this:
•Click  on the toolbar and select Input. on the toolbar and select Input.
•Enter the details and click Save.
NB: This will not link to a harvest activity and therefore will not contribute to yield calculations. In-order to achieve this you will need to enter inputs through the Harvest activity window.
|
Recording a Feed Event and linking the quantity used to the inventory system, will auto-create an output from the storage. Therefore no output needs to be recorded against the storage. If an output has occurred for other reasons then record an output manually.
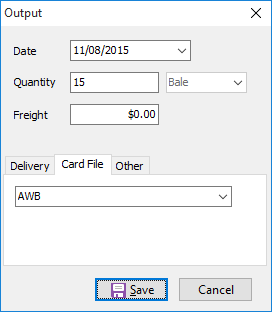
•Click  on the toolbar and select Output. on the toolbar and select Output.
•Enter the relevant details.
•At the bottom you have three tabs to identify the output delivery. The first is to identify a delivery group such as AWB Pool (described in the next tab). The second is to designate a delivery to someone in your card file and the third is for all other deliveries.
•Click Save when finished.
NB: If you are wanting to record the income of the output, the buyer needs to be setup as a Produce Delivery in the third tab.
|
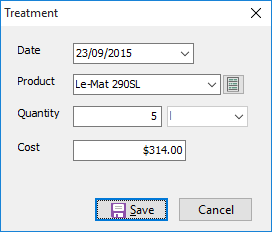
To record a treatment to the produce in storage:
•Click  on the toolbar and select Treatment. on the toolbar and select Treatment.
•Enter the date of the treatment and select the product from the drop-down list. You can either directly enter the quantity applied or you can select the product and quantity applied from the inventory system by clicking on  . Enter the quantity beside the relevant batch/s and click Ok. . Enter the quantity beside the relevant batch/s and click Ok.
•When finished, click Save.
|
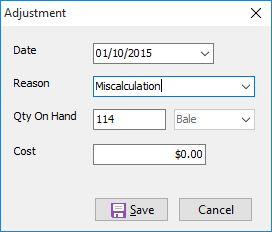
Like Inventory, from time to time the quantity in storage does not match what you have recorded and again this is most likely due to incorrect estimates etc. To make an adjustment:
•Click  on the toolbar and select Adjustment. on the toolbar and select Adjustment.
•Enter the date and a reason for the adjustment.
•Enter the new quantity on hand.
•When finished, click Save.
|
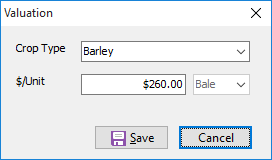
During the period the produce is in store, the market price may fluctuate. To represent the change in value of the produce you can do a valuation. To do this:
•Click Event on the toolbar and select Valuation.
•Enter the new value for Unit and click Save.
The value of the produce in store is shown at the foot of the storage history window.
|
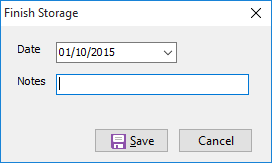
When a storage is empty and you are unsure of the produce type to be stored in this storage next, you must finish the storage. To do this:
•Click  on the toolbar and select Finish Storage. on the toolbar and select Finish Storage.
•Enter the date, a note if you wish and click Save.
|


