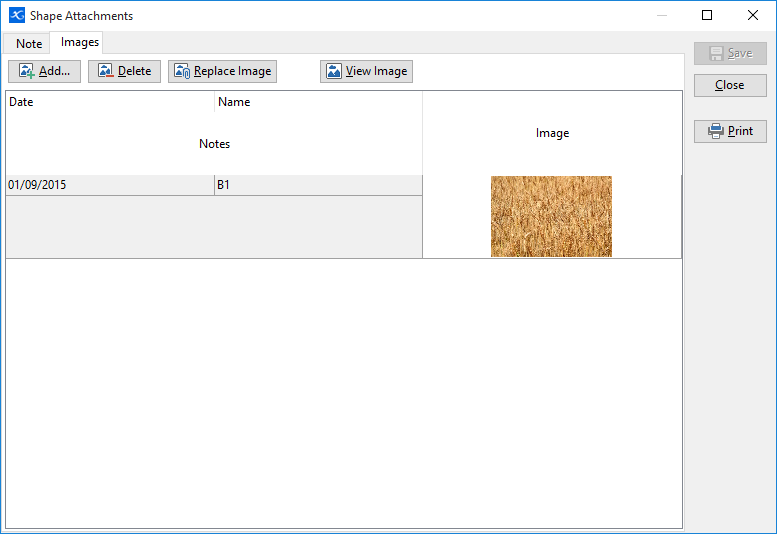
Notes and photos can be attached to any object on your mapping project. This can include details such as maintenance details for a bore or pasture monitoring for a paddock.
To record notes against, or attach images to, an object:
• Select the object on the map.
•Click the  Attach Notes/Images button in Object Data.
•The first tab is a general Notes section for the object. The second tab (Images) is where you can attach multiple images.
•Click the  button on the Images tab and browse to where the image is saved.
•Select the image and click Open.
•The file date and image name will be imported as well. You can change these by clicking into the field.
•Below the Date and Name fields is a note section for that image. Click into the field to add notes for the image.
•Repeat these step for additional photos and then click Save.
You can sort the images by date, name or notes. Click on the header you want to sort by and an arrow will appear indicating the sort order. Click the heading again to reverse the sort order.

To delete an Image:
•Select the image by clicking on it.
•Click the  button.
•Click Save to confirm the deletion.
To replace an existing image:
•Select the image by clicking on it.
•Click the  button.
•Browse to the replacement image and click Open.
•Click Save to confirm the replacement.
To view larger sized images:
• Select the image by clicking on it.
•Click the  button.
•This will open the photo in a re-sizable viewing window. Hover the mouse pointer over the corner of the window until you see a double ended arrow. Hold down the left mouse button and drag the window to the size you want. You can also re-position the window by holding down the left mouse button on the title bar of the window and dragging it to its new position.
•If you click back on to the Images window in Phoenix Mapping you can open another image that you can then re-size and re-position to enable you to view multiple images simultaneously in a tile affect.
•When finished viewing, click the  in the top right corner of each window to close.