To enter an Asset and Liability transaction:
1.Click the  button on the Toolbar or Transactions from the Tasks menu or press F4 on the keyboard.
2.From the Selection bar, select Account to reveal your list of accounts. Choose the account and sub-account you wish to work with and click OK.
3.Phoenix defaults to the current period. For prior period and next period entries, select Period from the Selection bar, to reveal the list of periods available. Highlight your choice and select OK.
4.Click New to begin entering a new transaction. It will depend on the transaction being recorded whether all fields need to be populated. Values in Asset accounts are assumed to be Ex GST so no GST fields are in an Asset Transaction window. If GST should be on the transaction it should be recorded in an account tracked for GST e.g. a bank account and the transaction in there linked back to the asset account.
5.Select the Type (Increase for appreciation of an asset/ Decrease for depreciation of an asset).
6.Enter a reference (optional).
7.Enter the date of the transaction.
8.Enter in the From/Pay To field. Either choose from the list by clicking on the downward arrow or enter a new name.
9.Enter the Amount of the increase or decrease. An inbuilt calculator can be used in this field - see Amount Field Calculator for more information.
10.Select a Category or account transfer. To view the list of Categories start typing the name or the number of the category and the list of categories or press the F2 key. Categories for increasing and decreasing asset values will need to be set up if not already available before assets can be revalued. See Category set-up for more details.
11.Select a sub-category. To view the sub-category list type a letter or press the F2 key.
12.Select an Enterprise. To view the enterprise list type the number 1 or press the F2 key.
13.If appropriate enter a link. If the link has already been set up against the category in Category Set Up, a link automatically appears. Check the account, sub-account type and transaction type is correct, enter a reference (this is optional). If the required link is not already set up see Category Set Up, you can also force a link to a financial account by pressing the F2 key to display the link window, and then select the account.
14.Enter a Comment.
15.If you want to record more information than will conveniently fit in the comments field, either click or just start typing in the notes column and add additional text into the box that pops up. You have an extra 256 characters to allow you to tell a small story. Any text that you type here will be searched in any Comments search that you do, and all transaction reports will print these notes if you tick Show Dissection Notes in the options window in Reports.
16.Enter in a Qty if applicable. As part of every transaction you now have the opportunity to record a quantity. The family of units that this quantity belongs to will be available for you to choose from whenever this category is used again. You can modify the family of units through Category Setup. See also Filter Measurements
17.Enter in the Amount. An inbuilt calculator can be used in this field - see Amount Field
18.Press Alt S, or click the Save button to save the transaction.

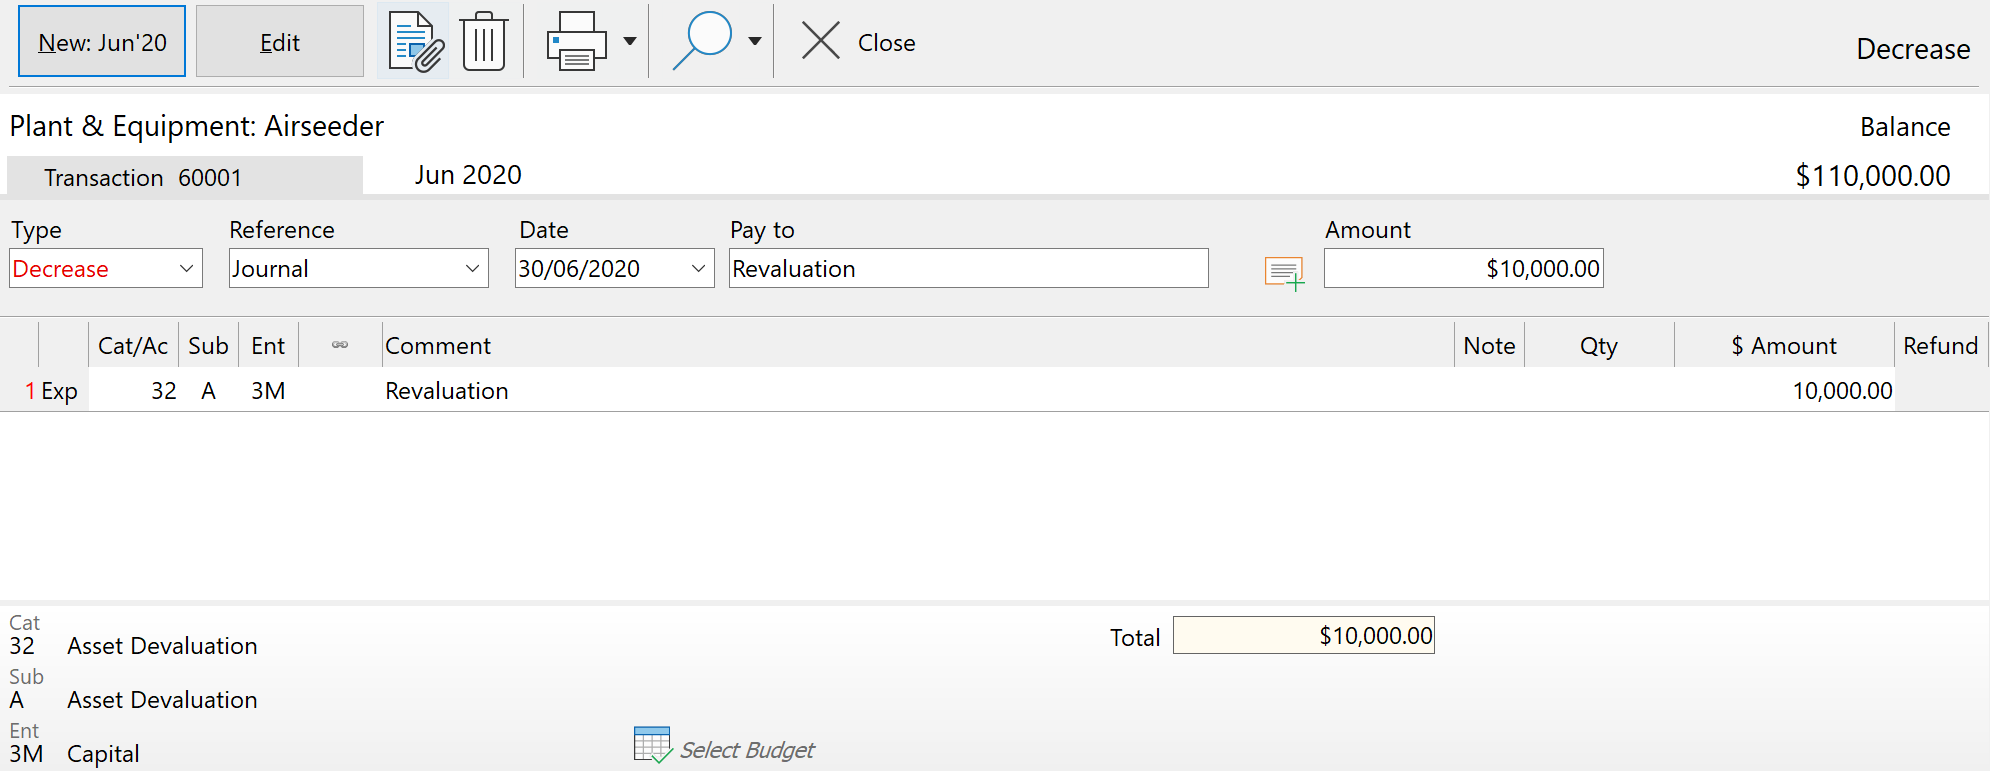
(Example of a transaction revaluing an asset.)
To Age Asset and Liability Accounts:
1.Select Enter from the Toolbar or select Enter Transactions from the Tasks menu or press F4.
2.Select the account and sub-account from the selection bar.
3.Select Period from the selection bar and choose Next Period.
4.Enter in a transaction. A transaction needs to be entered to make the new period the current period.
5.If a transaction is recorded and Saved in a Next period, close Asset Entry to refresh the period selection and have the subsequent period available when re-opening the Asset/Liability Transaction window for that sub-account. This may be necessary several times to get to the current period if regular transactions have not been recorded in the sub-account.