To record a Planting:
•Tick the paddocks/sub-paddocks where the planting will occur.
•Click  on the toolbar and select Planting.
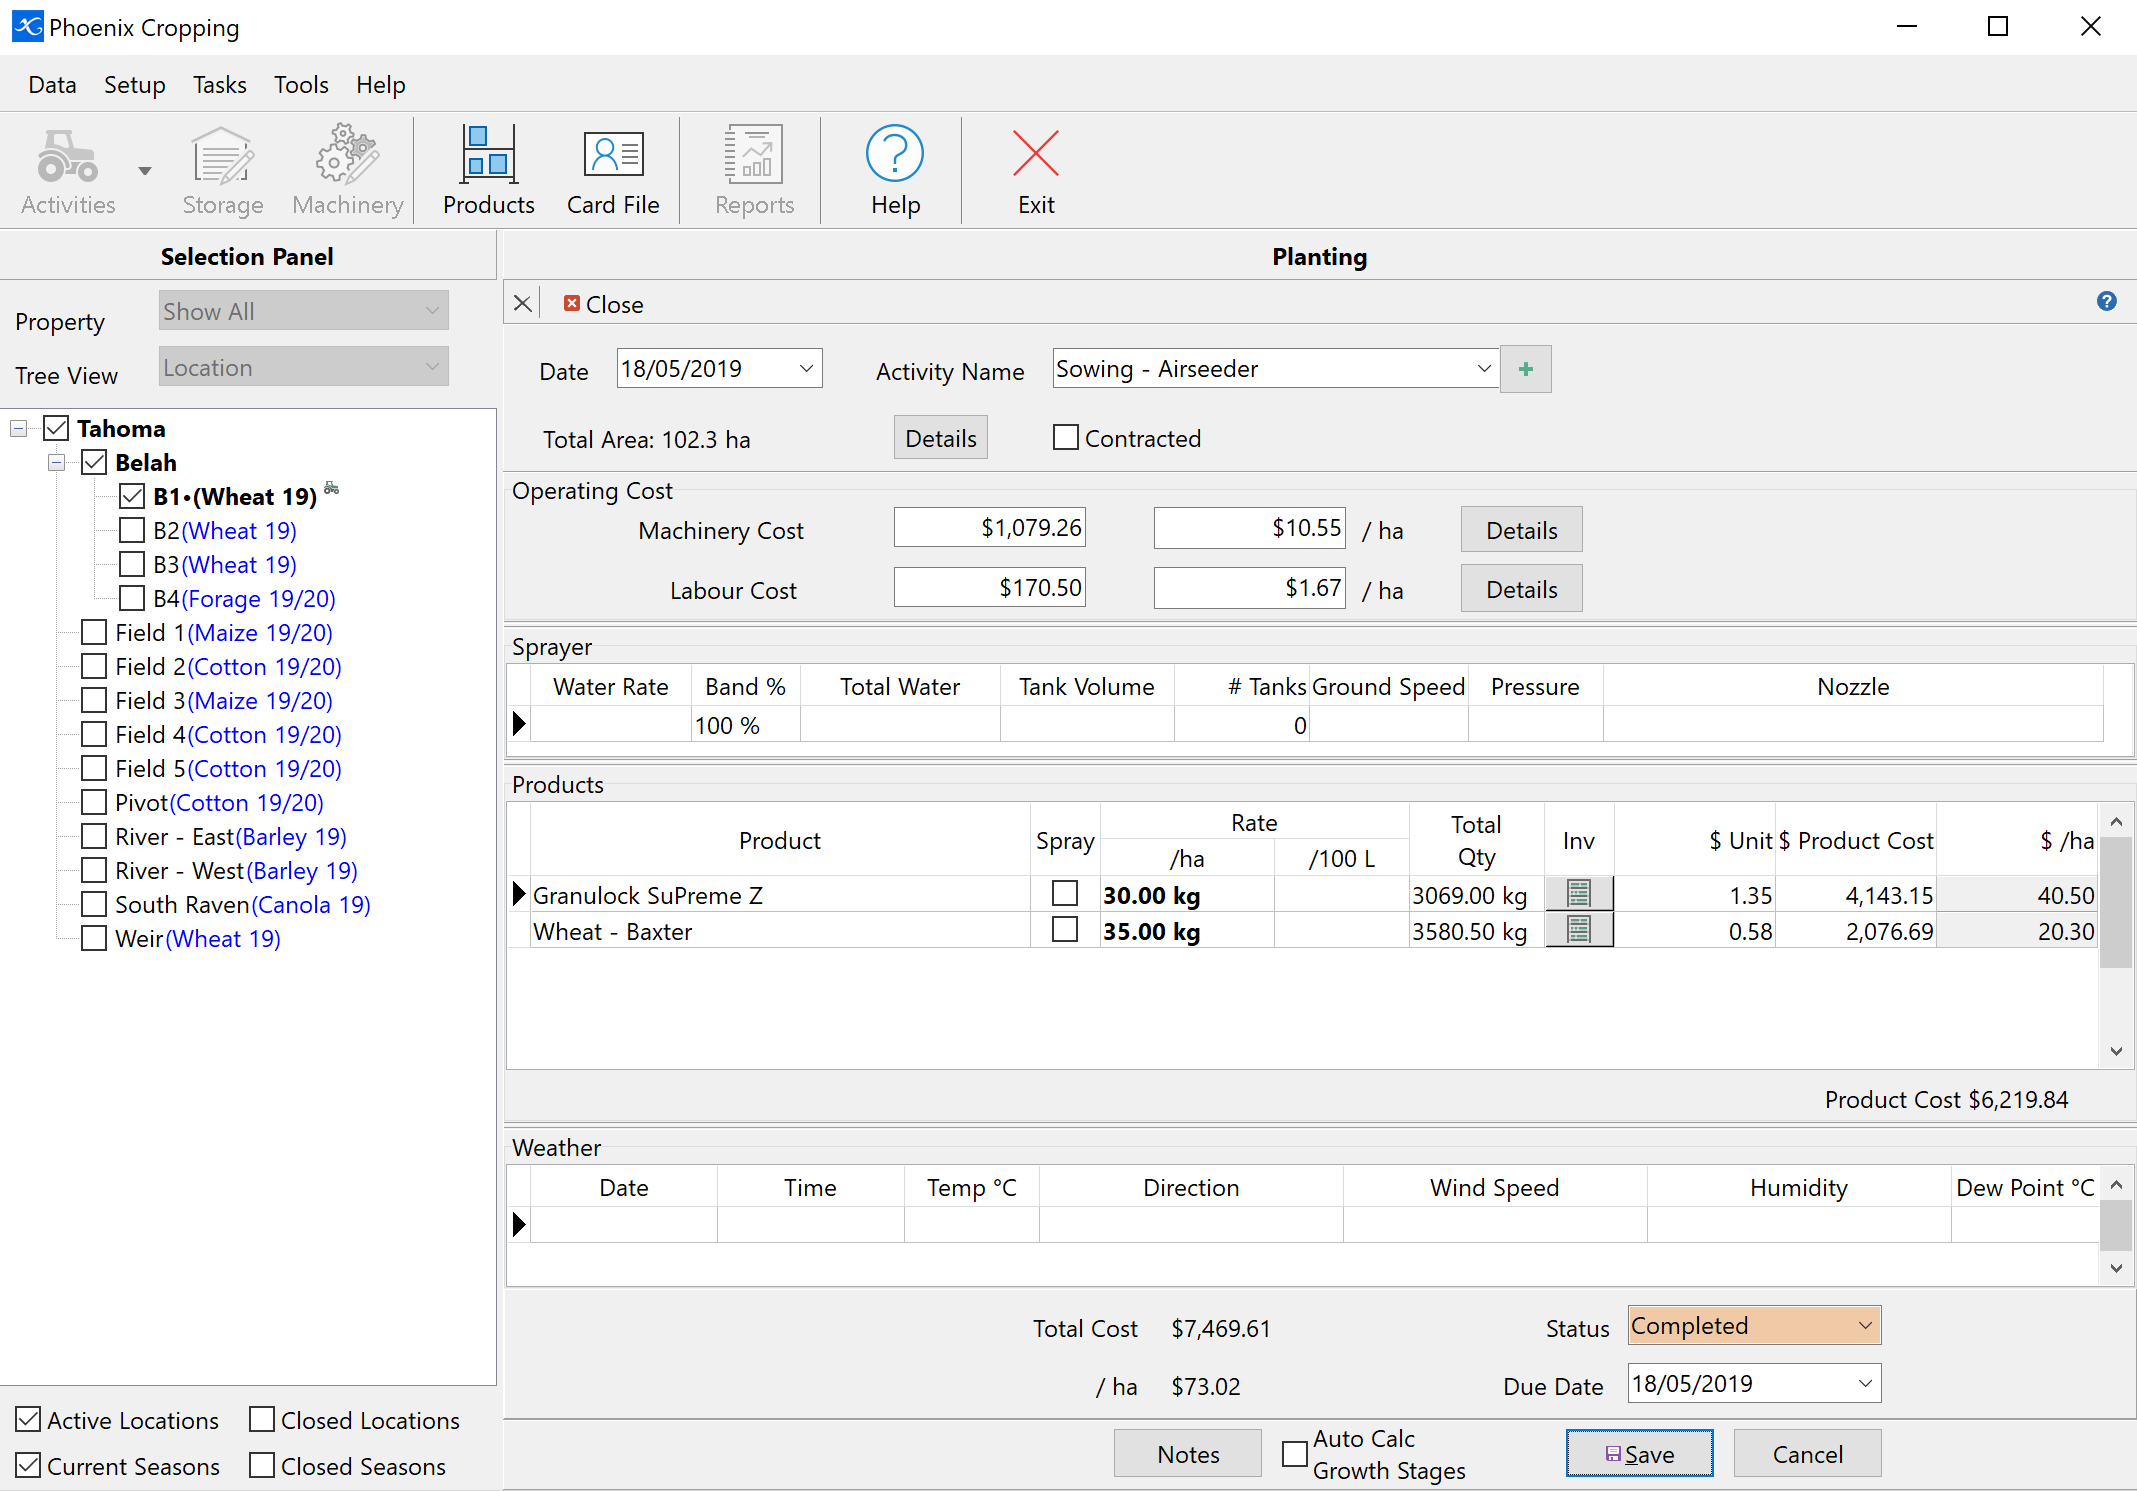
•Enter a date and select a planting activity from the drop-down list. If a previous planting has already been recorded you will see a planting type drop-down list. The planting type is used for Full Re-plant, Partial Re-plant or an Additional planting.
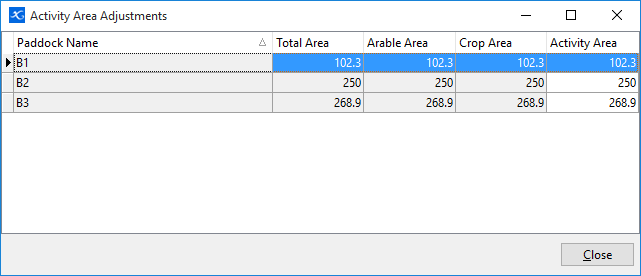
•The total area of the ticked paddocks/sub-paddocks will be displayed below that. The Details button allows you to edit the area for each location selected.
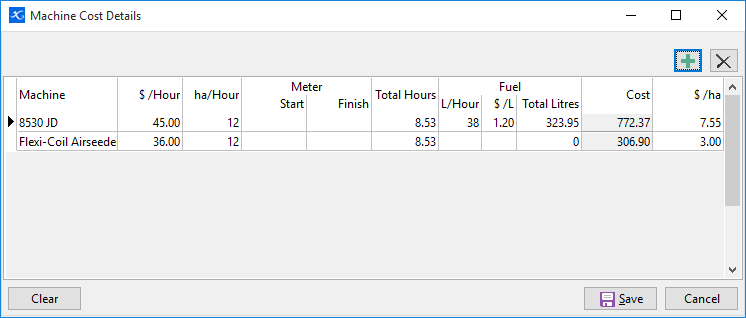
•Enter any machinery costs as a total cost, $/ha or click on the Details button to identify and calculate the costing for each machinery item used.
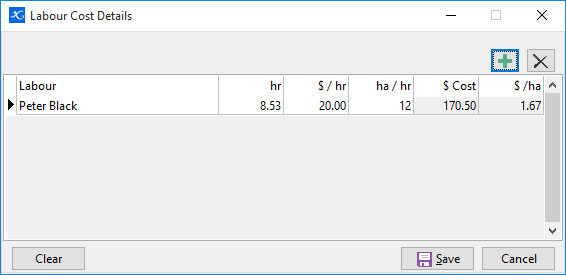
•Enter any labour cost either as a total, $/ha or click on the Details button to identify the labourer/s and their costings.
•If a product is being sprayed on at the time of planting, then enter the sprayer configuration details.
•For any products being applied, click in the products cell and select from the drop-down list. You can just start typing to find the product you require.
•If the product is to be applied by spray, then tick the spray box.
•The default rates, if set up, will auto populate the rates field. You can over type these fields if they are incorrect.
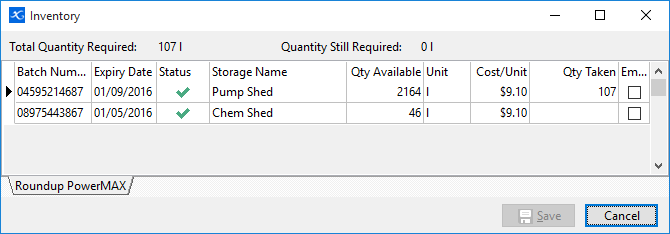
•Total quantity for each product will be displayed. If you are using the inventory system to track your products, you can identify which batch/batches are being used in this activity. Clicking  will bring up a list of all batches for that product. Enter the quantity used from each batch. At the top will be shown the quantity required. When finished click Save.
•If more than one product is used then Enter/Tab through to create a new line for another product.
•This will populate the actual cost of the product you have selected. If you select more or less product, the rates will recalculate to reflect the different quantity.
•Enter the weather details for the activity (optional).
•If you have setup growth stages for the variety, then you have the option to populate in the history grid, the date each growth stage is expected. Tick the Auto Calc Growth Stages option beside Save. Refer to Crop Variety setup to implement this feature.
•Set the status for the activity and click Save.
NB: To delete an unwanted line in a grid, select the line and press Ctrl and the Delete key together, or right mouse click. You will then see a confirmation window to delete the line.