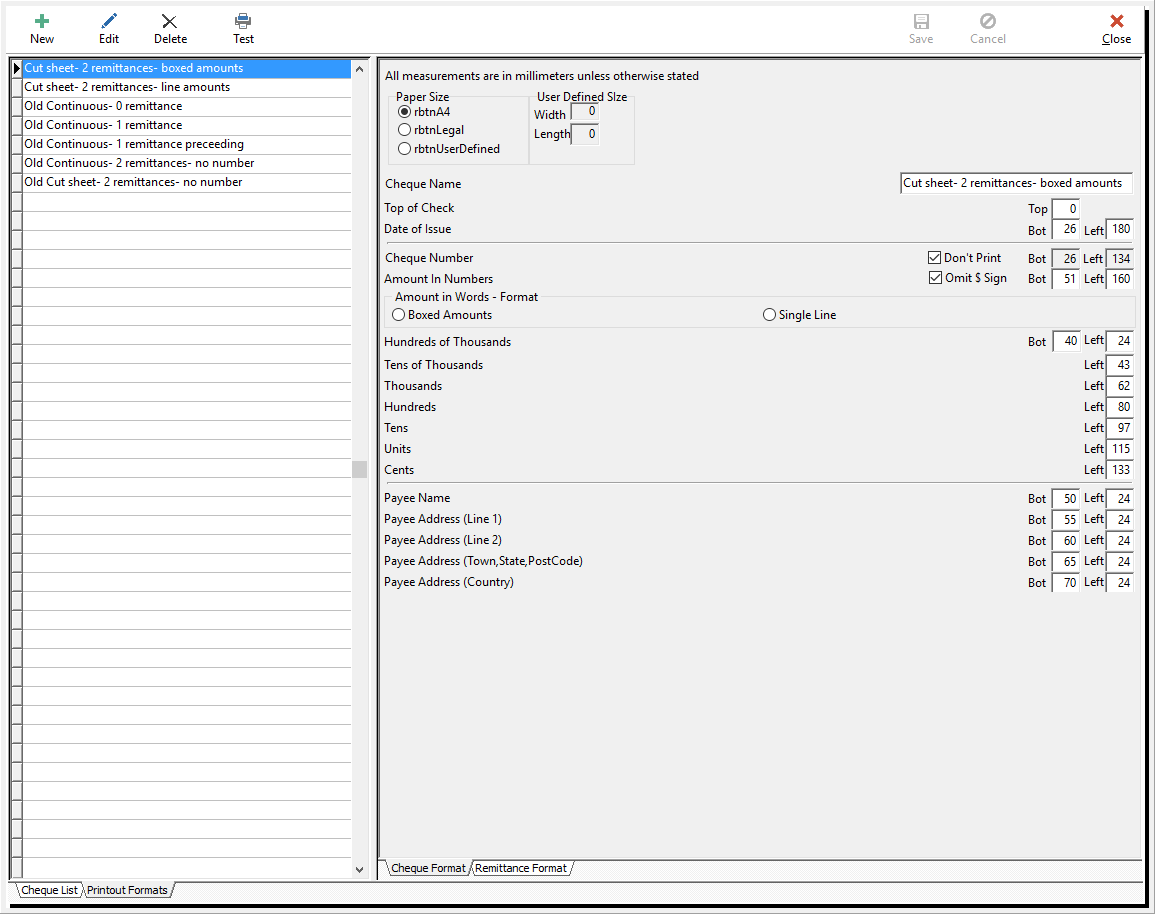
Select the Printout Format tab at the bottom of the Print Cheque Screen.
On the left hand side of the screen are the same options available from the Cheque Format field shown previous. Shown to the right of this area are the details relating to the cheque format or, if you select the Remittance Format tab at the bottom of the details screen you will see the details corresponding to the remittances which will be printed with your cheque.
To Edit an Existing Layout:
1.Select the  icon from the function bar.
2.Begin editing the desired fields.
3.Save the Changes.
Doing this changes the alignment of the text for the printing of your cheques and/or remittances.
The Print Cheque Format Screen is shown below.

To Create a New Layout:
1.Select the Printout Format tab at the bottom of the Print Cheque Screen.
2.Select the  icon from the function bar.
3.Entering in all of the details.
4.Save the changes.
To complete a Test Print:
1.Place a blank piece of paper in your printer.
2.Choose the Test button from the function bar.
This allows you to physically check the layout of your changes. It may also be a good idea to use this function to do a test print and take to your printing agency to show them the current layout.
To leave the Print Cheque screen, select the Close icon from the function bar.