|
Navigation: Financial > Day to Day Tasks > Enter Transactions Getting To Know the Enter Transaction Screen |
Scroll Prev Top Next More |
To open the Enter Transaction window, click the  button on the Toolbar or select Enter Transactions from the Tasks menu or press F4 on the keyboard.
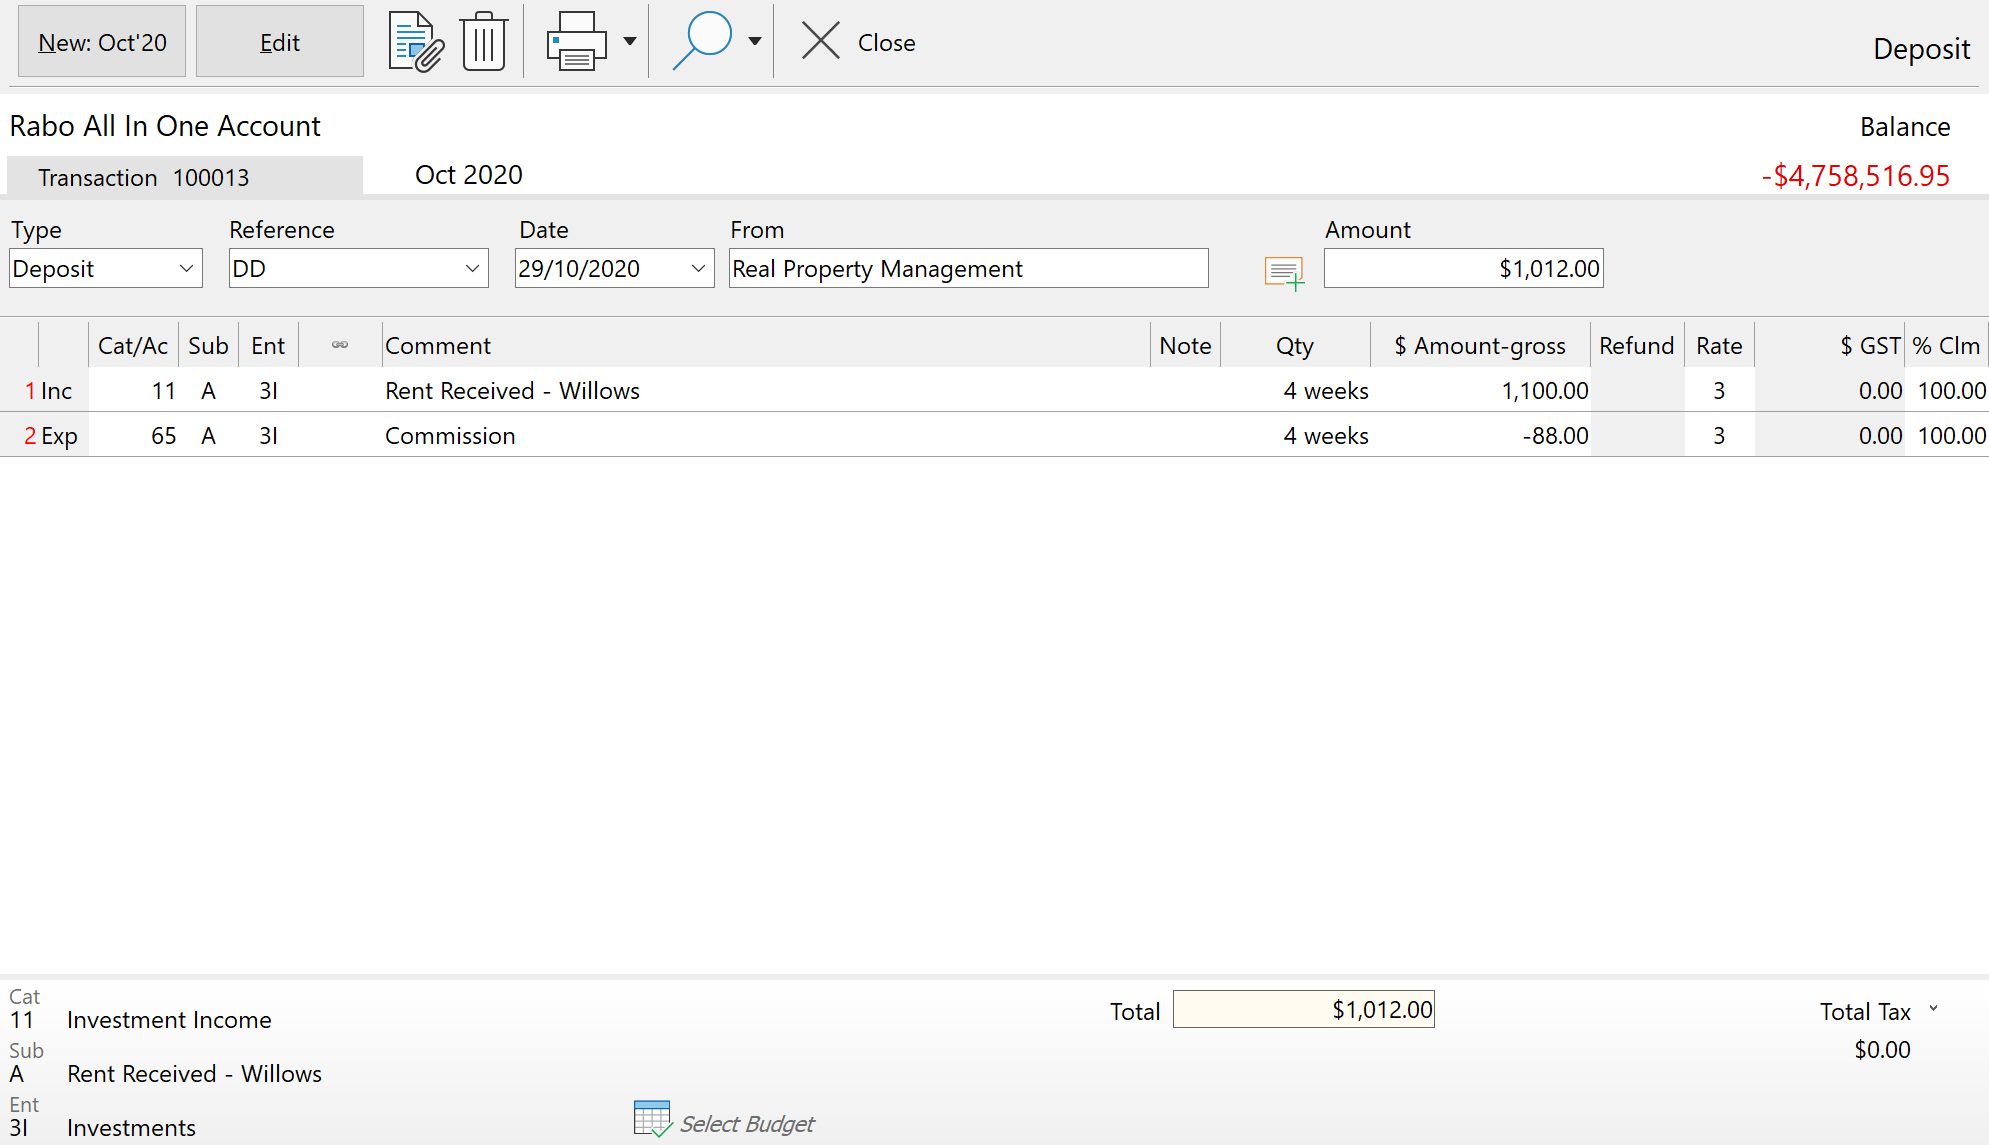
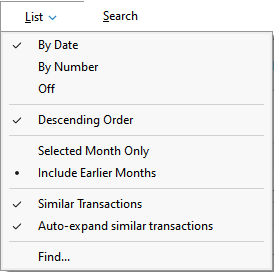
Account - selects the account required. Period - To enter transactions for an account, you must choose the period of entry for the transactions. Choose the working period by selecting Period from the Selection bar. The Period selection box shows the list of periods available for the selected account and the opening balance for each period. If your set of books is new, the first working period is the period that you entered when setting up Phoenix. Once the account is reconciled forward, Phoenix will always default to the current period. This function is used to select a different period. Next period allows transaction entry in the following month. List - displays the transactions entered for the selected account. You have the following options:
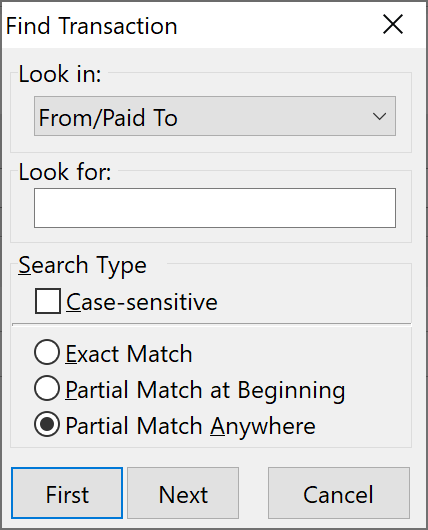
•By Date - Lists Transactions in Date Order. •By Number - Lists Transactions by Transaction Number Order. •Off - Turns the Transaction List Off. •Descending Order - Lists transactions in descending order from latest to earliest. •Selected Month Only - Displays only the transactions for the nominated month. •Include Earlier Months - Lists all transactions for that account including all earlier months. •Similar Transactions - When entering a new transaction, or when editing an existing transaction, the List (if turned on) automatically shows just the entries for the Card File entry that is selected for the transaction. The List will be empty until the Pay To field is filled out, or if the Pay To is not selected from the Card File. This feature lists only transactions entered for the selected account. This handy feature will be useful to reduce the possibility of entering the same transaction more than once. •Auto-expand Similar Transactions - Expands similar transactions as you move up and down through the list. •Find - This lets you find a transaction based on the entered criteria. For more information see the Function Bar below. Search - See Transaction Search/Filter for more details.
|
•New - enter in a new transaction. Please note that this button is the default function when the window is first opened. It can be effected by pressing the Enter key. •Edit - edits the selected transaction. •Save - saves the transaction. •Cancel – exits the transaction without saving. • • • •
|
•The current account Balance – The balance is shown in the upper right hand corner of the screen whenever you are adding a new transaction in the current period for the account selected. If the balance is bracketed it indicates it’s a negative figure. •The Transaction number - Phoenix automatically numbers each Transaction. The first part of the number is the period. For example, transaction numbers for September all start with the number 9. The final 4 digits count all transactions that have been entered in the period for the chosen account. Therefore, the 23rd transaction in the period of September has a Transaction number 90023. With each new period, the transaction count is reset to one. So the first Transaction number in October is 100001. •Transactions that are matched to a bank feed record show a •If you enter a date that is not within the period selected for the transaction, Phoenix will warn you. Phoenix records and reports transactions in the period they are entered - irrespective of the date of the transaction. You can choose to ignore this warning and save the Transaction anyway. For example, you could enter transaction in the June period for an account, enter a July date and ignore the warning that Phoenix presents you to save the transaction. However when it comes time to report on this transaction it will be seen by Phoenix as a June Transaction. •If GST Tracking is active for the account, the last three items listed on the dissection entry line are Rate, $ GST and % Claimable. The rate field shows the GST rate applicable for the category selected. This rate is set up in Category Setup. The rate can be changed for the particular transaction being entered. Changing it here does not change it in Category Setup and therefore does not change the default for future transactions using this category. •The $ GST field automatically shows the amount of GST that is payable according to the rate selected. You cannot alter this field. •The % Claimable is the percentage of the GST Amount applicable to the business. The default is set in Category set up but it can be changed here for that transaction. e.g. you would enter less than 100% for part private use, such as Telephone or motor vehicle expenses. •The name of the budget file in use is shown at the bottom right hand corner of the window area.
For more information on the areas where the data is entered see Reconciled Account Transactions. |
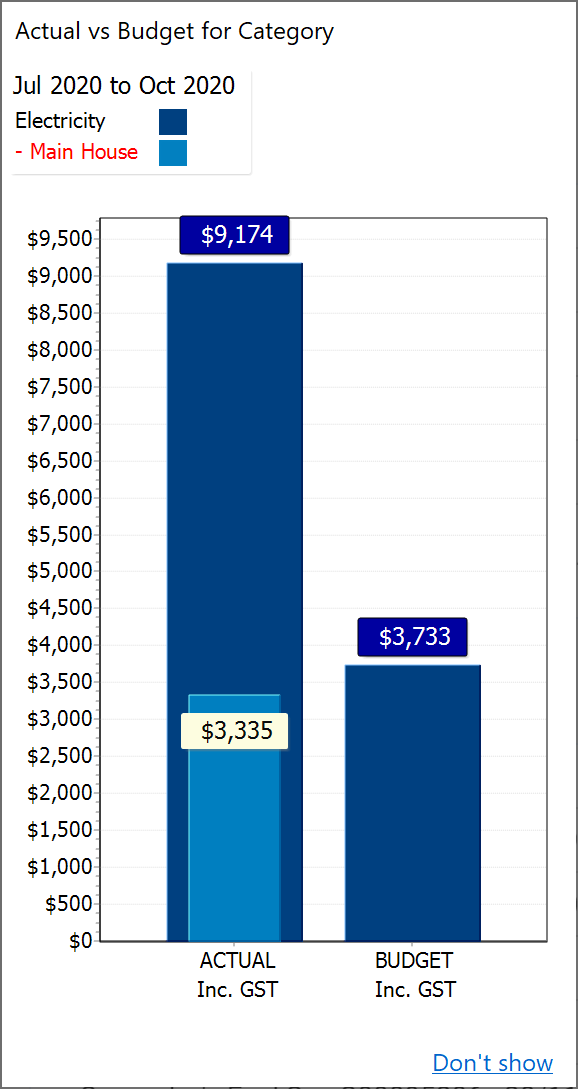
Available in the Enter screen, or the Activity view for Customers or Suppliers, this graph shows a comparison of the total value in actuals for the Category and Sub-category in the dissection selected in the entry screen vs the amount budgeted.
|
See Also:
Entering from Similar Transactions
Scheduling Regular Transactions
Attaching Files to a Transaction
©2025 AGDATA Holdings Pty Ltd trading as AGDATA Australia


