1.Click the  on the Toolbar or select Supplier from the Purchases menu or press F6 on the keyboard.
2.From the Selection bar, select Supplier to reveal your list of accounts/sub-accounts. Choose the account/sub-account you wish to work with and click OK.
3.Phoenix defaults to the current month. To enter a transaction in the next month, click on the Change Month drop down arrow to the right of New and select the next month. Highlight your choice and select OK. See also Open New Month.
4.Click New to display the Invoice entry window.
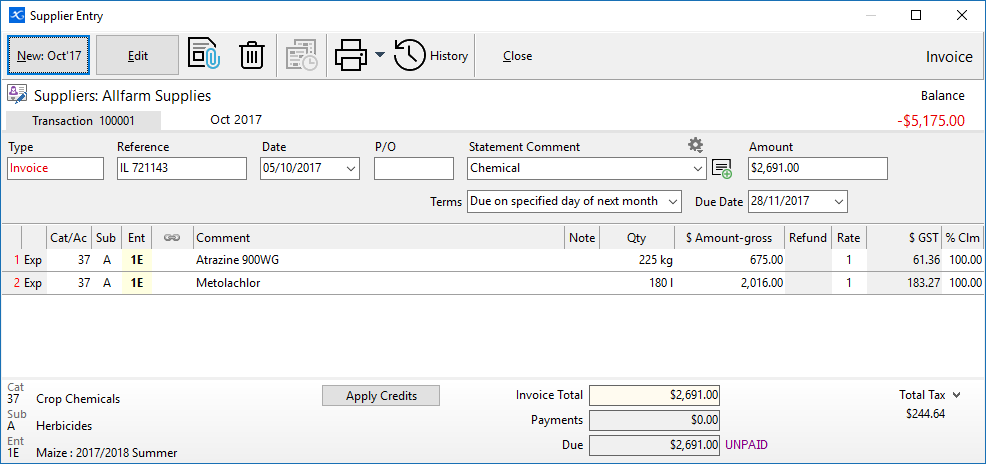
5.Select the Type - Invoice.
6.Enter the Reference, e.g. the invoice number
7.Enter the date of the invoice.
8.Enter the Statement Comment. You can manage the selection of comments available by clicking  . See also: Comments History
9.Enter the Invoice Amount. An inbuilt calculator can be used in this field - see Amount Field Calculator for more information.
10.Enter the Category or Account Transfer. To choose a category, either start typing the category name or number or press the F2 key.
11.Enter the sub-category. Either type any letter or press the F2 key to display the sub-categories.
12.Enter the Enterprise. Either type any letter or press the F2 key to display the enterprises.
13.If a link has been set up for this Category in Category Setup, a link automatically appears when you enter this field. Check all the data in the field is correct.
14.Enter a Comment.
15.If applicable, enter the Quantity. As you begin typing a pop up screen appears allowing you to enter the quantity, units, and the price per unit.
16.Enter the Amount. An inbuilt calculator can be used in this field - see Amount Field Calculator for more information.
17.Press the Enter key.
18.If there is more than one item in the invoice, keep repeating steps 10 through 16.
19.Press Alt S or click the Save button to save the Invoice.
20.If the check box for Print Recipient Created Tax Invoices was ticked when setting up the Supplier account, a window will come up to confirm if you want to print or email a Recipient Created Tax Invoice. You can also tick a check box here to not Print RCTI for that Supplier.
21.Press the Esc (Escape) key or click the Exit or Close buttons to return to the Statement.
